
从配置到打代码--苍穹外卖
第一章 配置
01 整体代码
先不着急写代码,先对整体项目分析一下
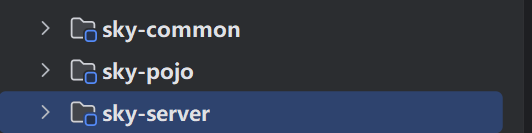
可以看见项目被分成了三个部分
- sky-common
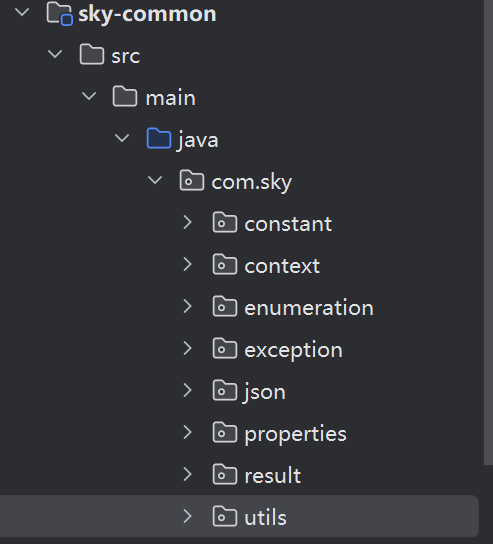
1 | 点进去细看可以看出这里面是一些功能类,用来应对报错,返回结果,以及项目进行的各种需求 |
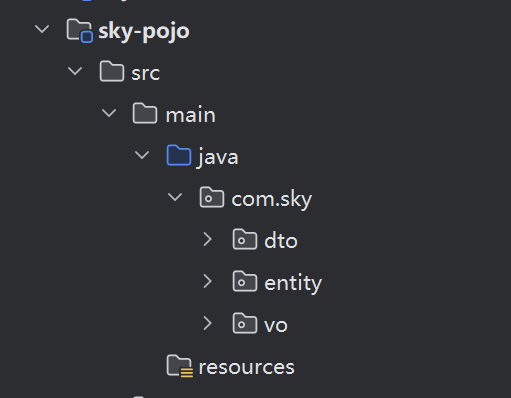
sky-pojo
1
2这里就是项目所需要的所有对象,entity是对象的全貌,带有所有属性,而dto则是为了方便处理项目所创建的小对象,包含有entity的一部分属性
//TODO vo还没学完,后续补充sky-server
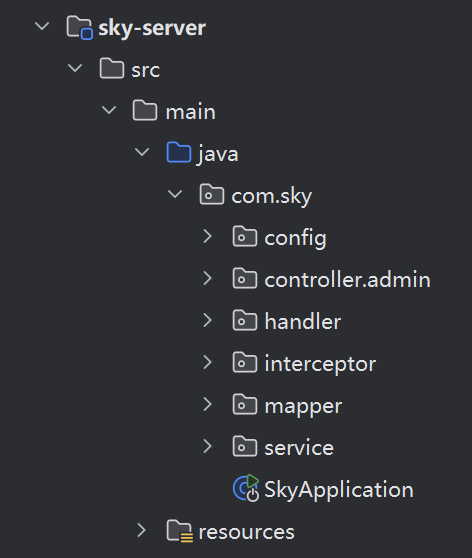
1
后端项目的具体内容,也是我们要干的活
02 配置环境
准备好
1 | 1. maven |
001 maven
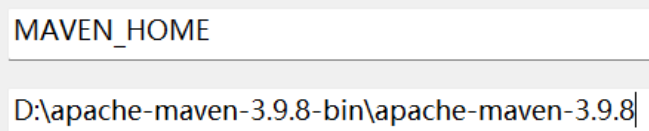
1 | 第一步:下载,然后配置环境变量,记得JAVA_HOME,java环境变量记得配置,不然用不了maven,在进入path填入 |
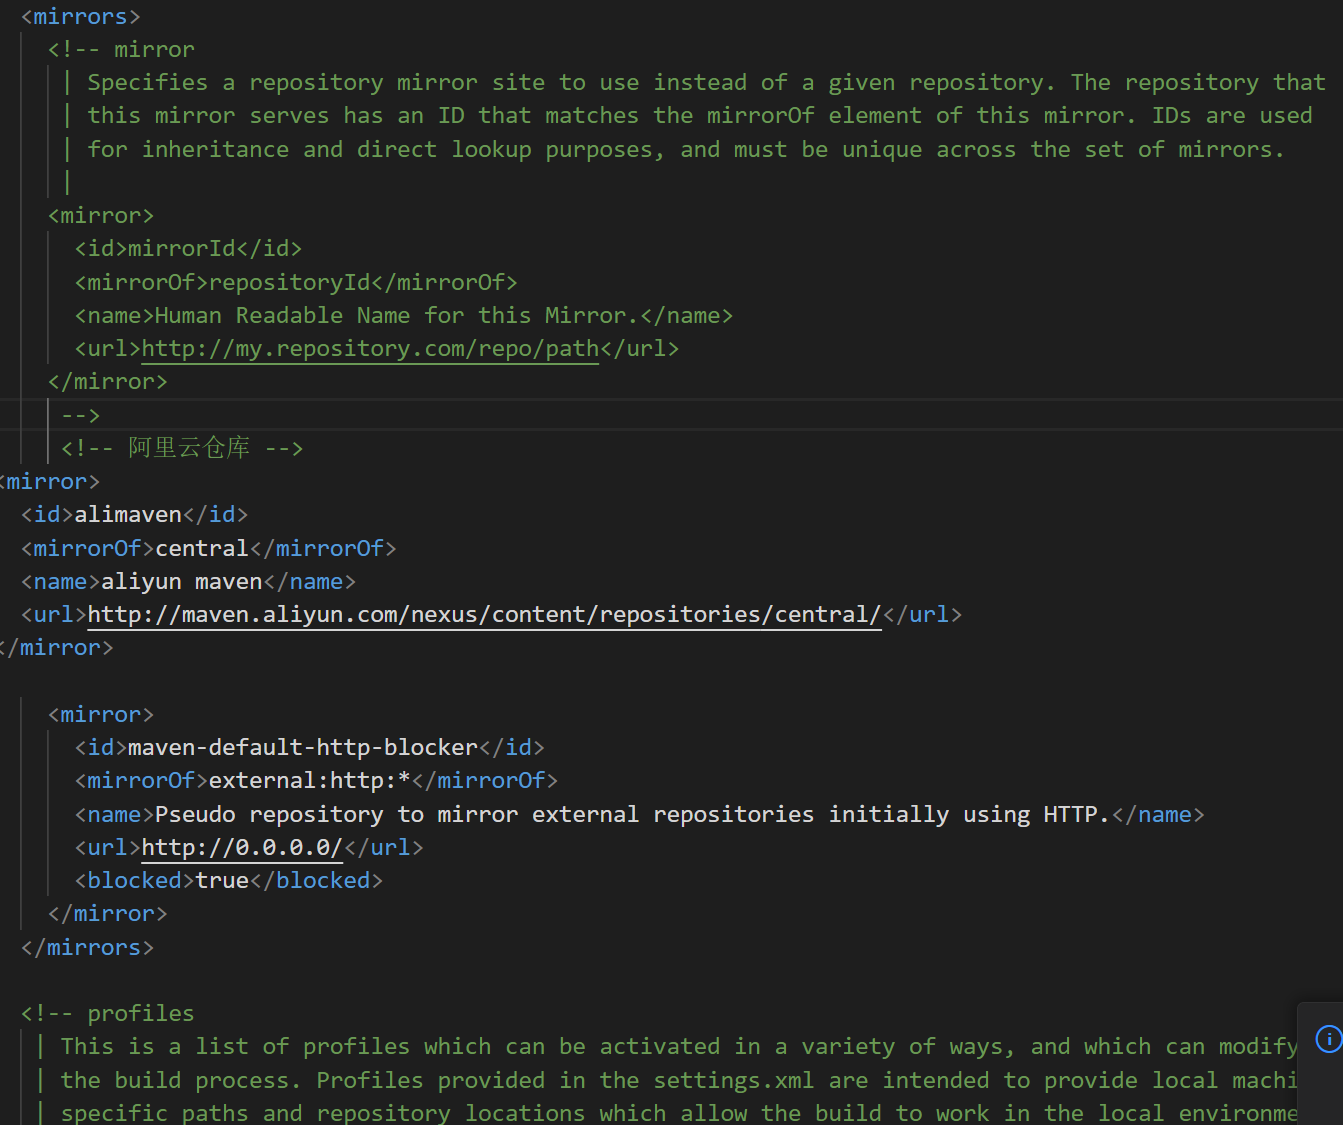
1 | 第二步:进入C:\soft\apache-maven-3.9.9\conf ,maven下载处的conf |

镜像
1
2
3
4
5
6
7
8
9
10
11
12
13
14
15
16<!-- 阿里云仓库 -->
<mirror>
<id>alimaven</id>
<mirrorOf>central</mirrorOf>
<name>aliyun maven</name>
<url>http://maven.aliyun.com/nexus/content/repositories/central/</url>
</mirror>
<mirror>
<id>maven-default-http-blocker</id>
<mirrorOf>external:http:*</mirrorOf>
<name>Pseudo repository to mirror external repositories initially using HTTP.</name>
<url>http://0.0.0.0/</url>
<blocked>true</blocked>
</mirror>
</mirrors>把如上代码输入到指定位置,一定位置要对
版本
往下滑
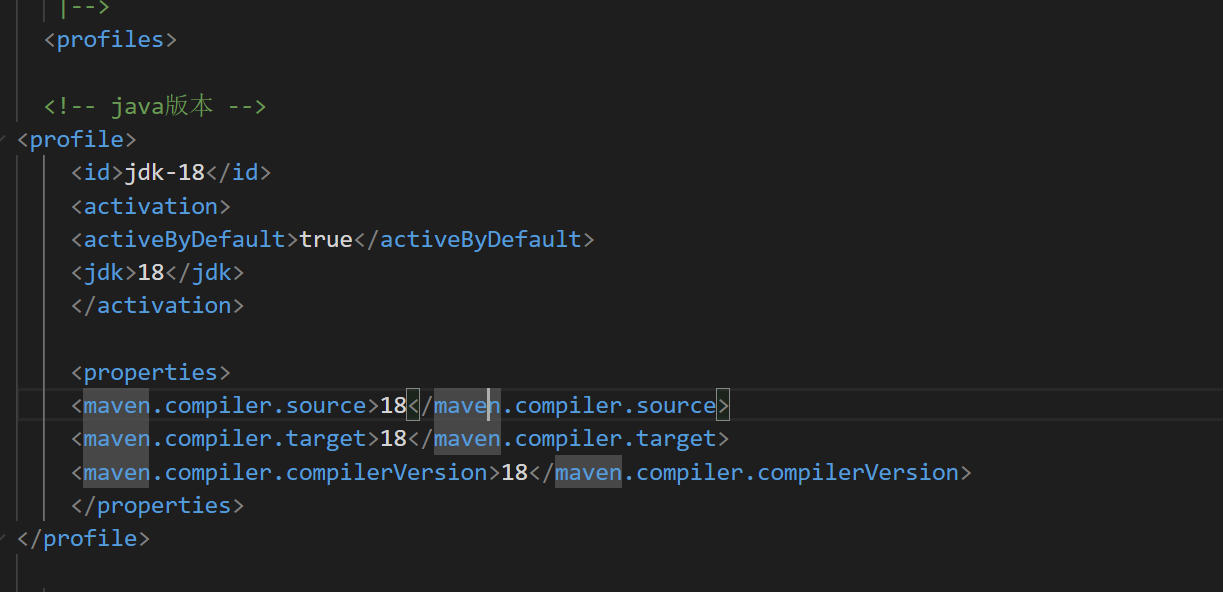
改成你现在使用的版本
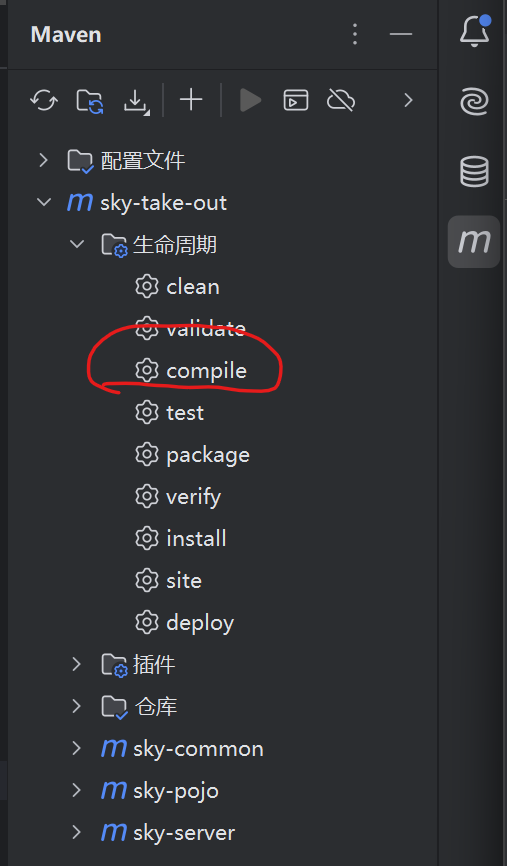
查看版本在idea中点击
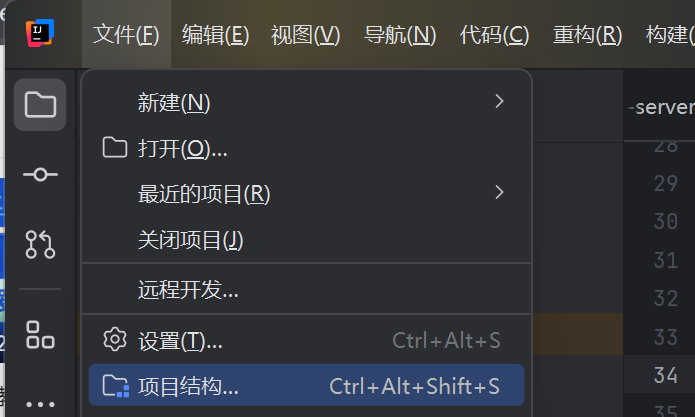
可以看见当前你使用的版本

1 | 最后在idea点击这个compile就可以了 |
002 mysql
先配置mysql
手把手教你安装MySQL(最新版本安装)_哔哩哔哩_bilibili
这位up主超级详细,直接安装那个版本就行
记得每次使用之前需要在cmd打开
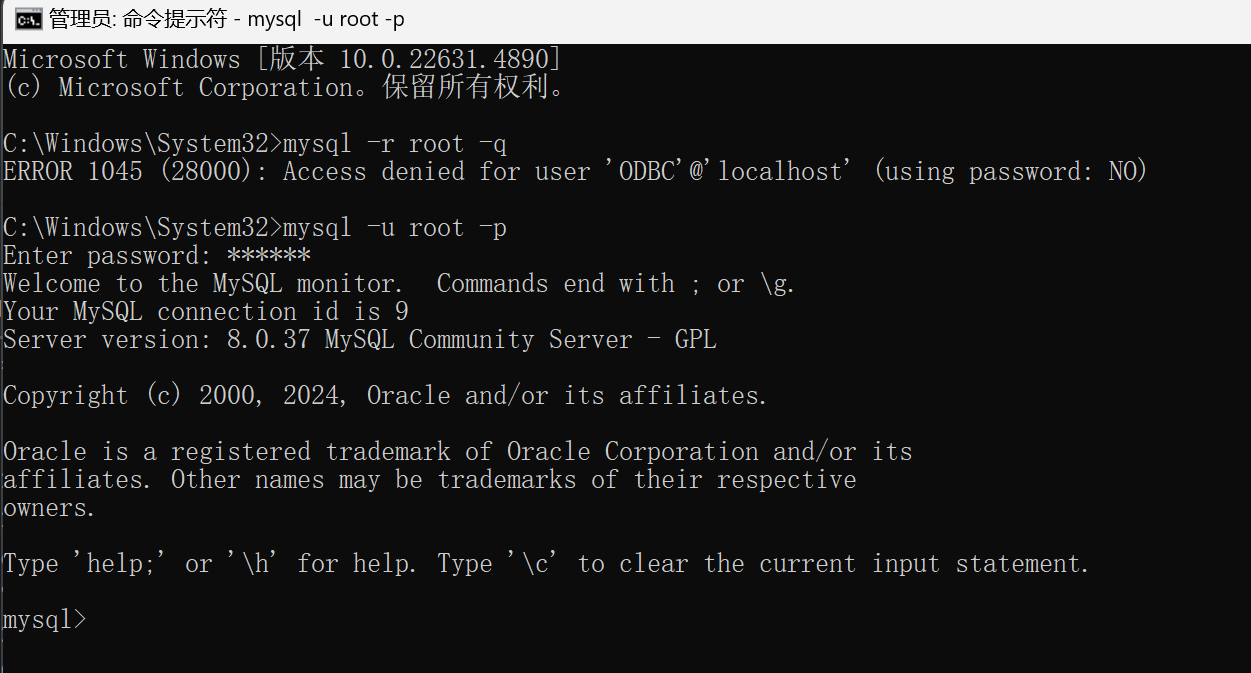
输入
1 | mysql -u root -p |
之后进入idea 新建mysql数据源
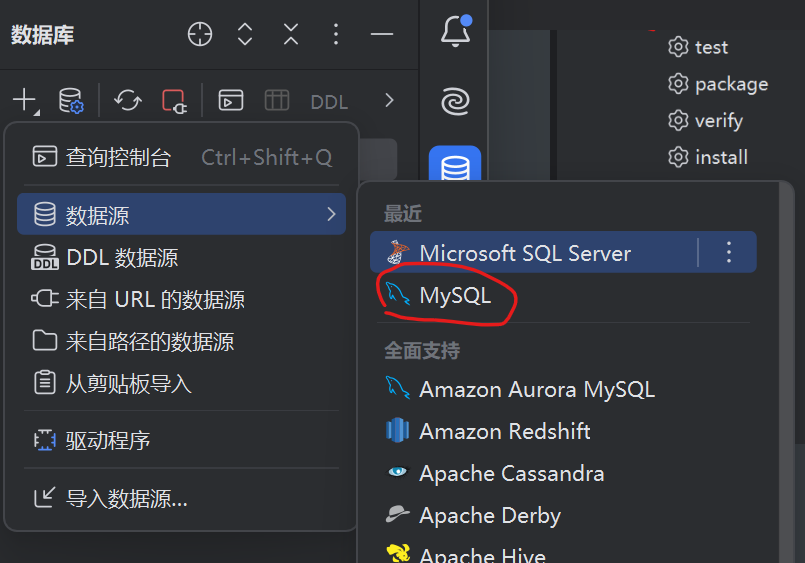
设置如下

数据库可以不填,我后面写代码的时候报错了,才加上这个,用户密码填上面mysql配置的,点击最下方测试连接,连接成功即可
然后运行一下黑马程序员的
就可以成功连接数据库,
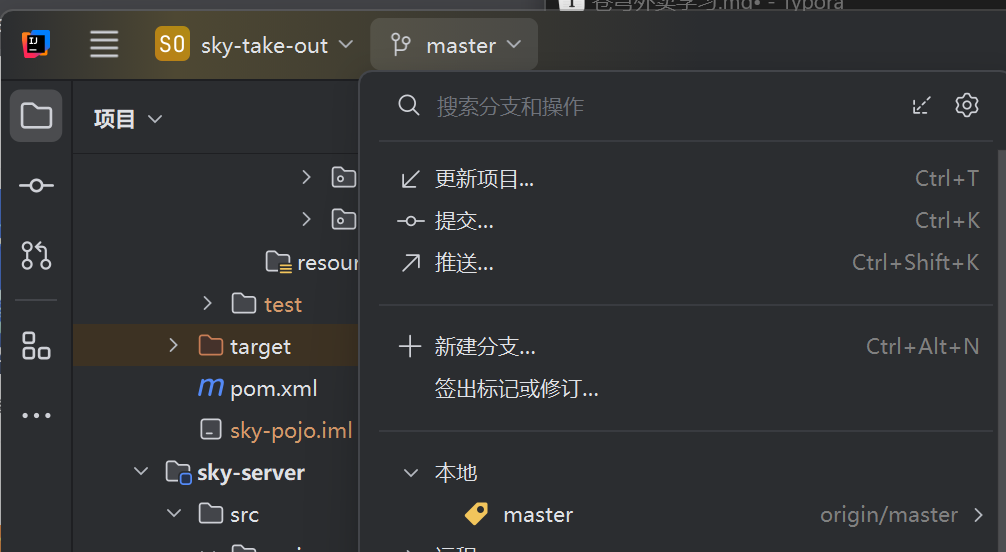
003 git
以前搭建博客的时候用了git,就不写下载过程了
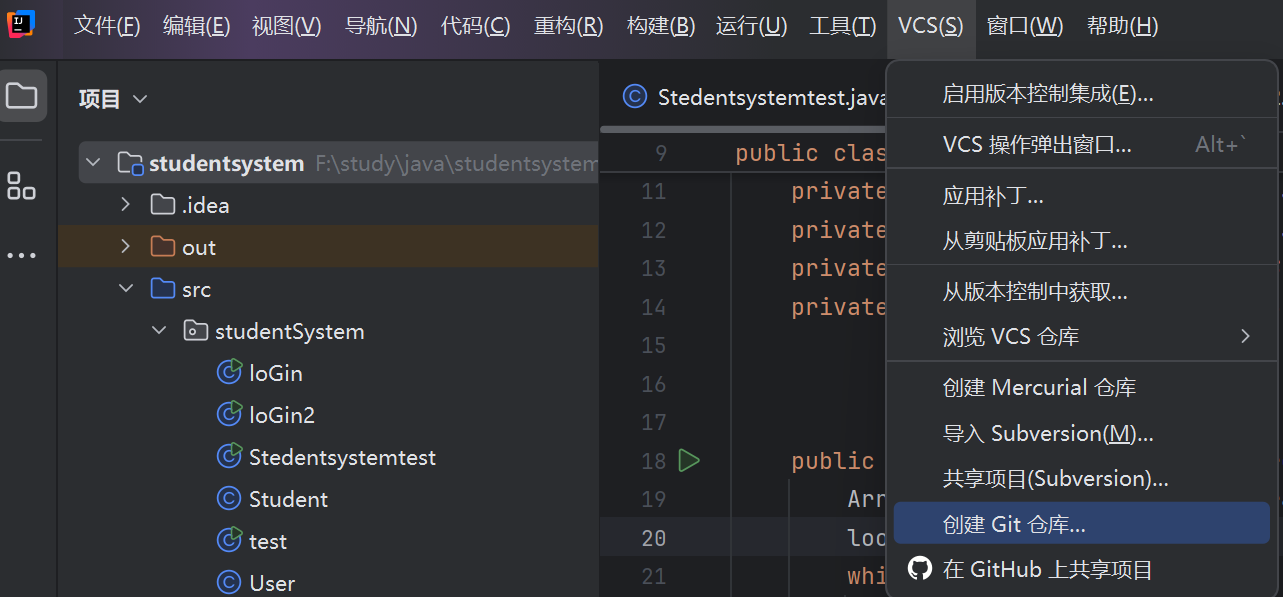
选择vcs的创建git仓库,之后只要在master里提交加推送就好了
004 nginx
直接双击day1中的

即可
第二章 员工管理
01 新增员工
一个后端工程师,只要把需求做出来就好了,先看接口
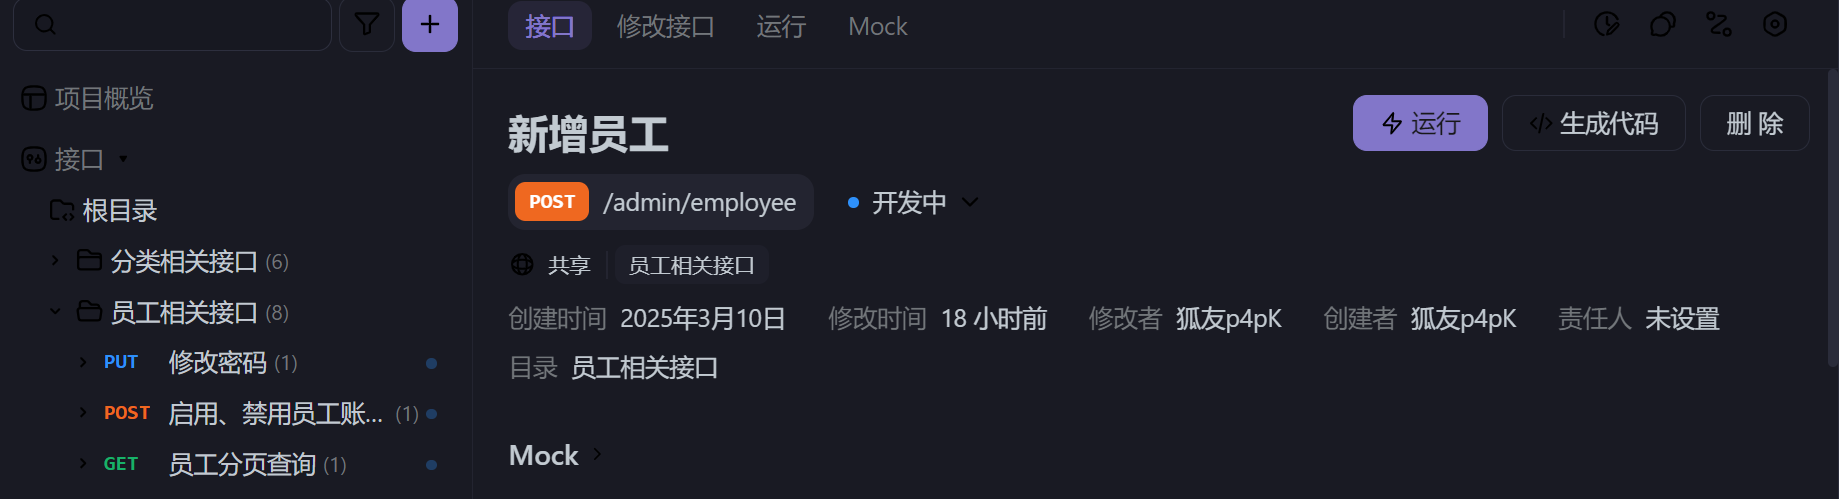
1 | 开头地址:@RequestMapping("/admin/employee") |
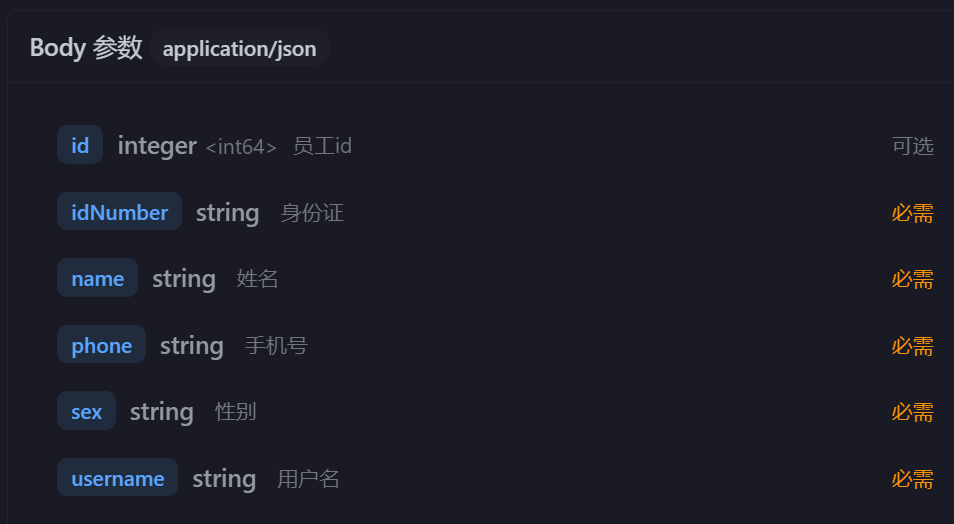
他就这么点属性,而我的Employee有这么多属性
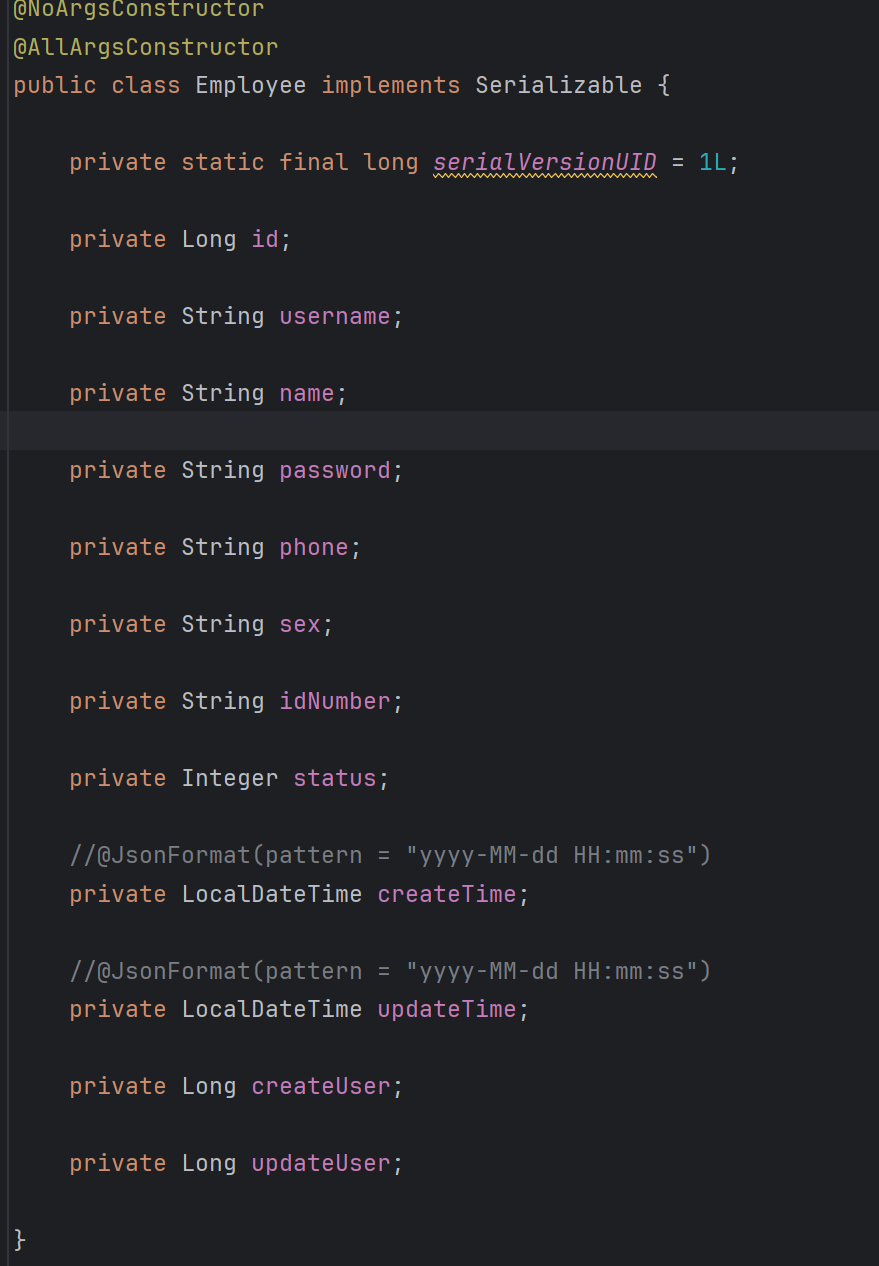
这里就要使用DTO,把需要的属性封装成一个小的DTO
对象属性拷贝:
1
2
3//对象属性拷贝
BeanUtils.copyProperties(employeeDTO,employee);
从前面的源拷到后面的目的地为1为0的类似常量值最好用常量代替
1
2
3
4
5
6
7
8public class StatusConstant {
//启用
public static final Integer ENABLE = 1;
//禁用
public static final Integer DISABLE = 0;
}
001 测试功能
当前端还没做好时可以使用接口来测试功能
在前面配置的时候swagger是这个地址
1 | http://localhost:8080/doc.html#/ |
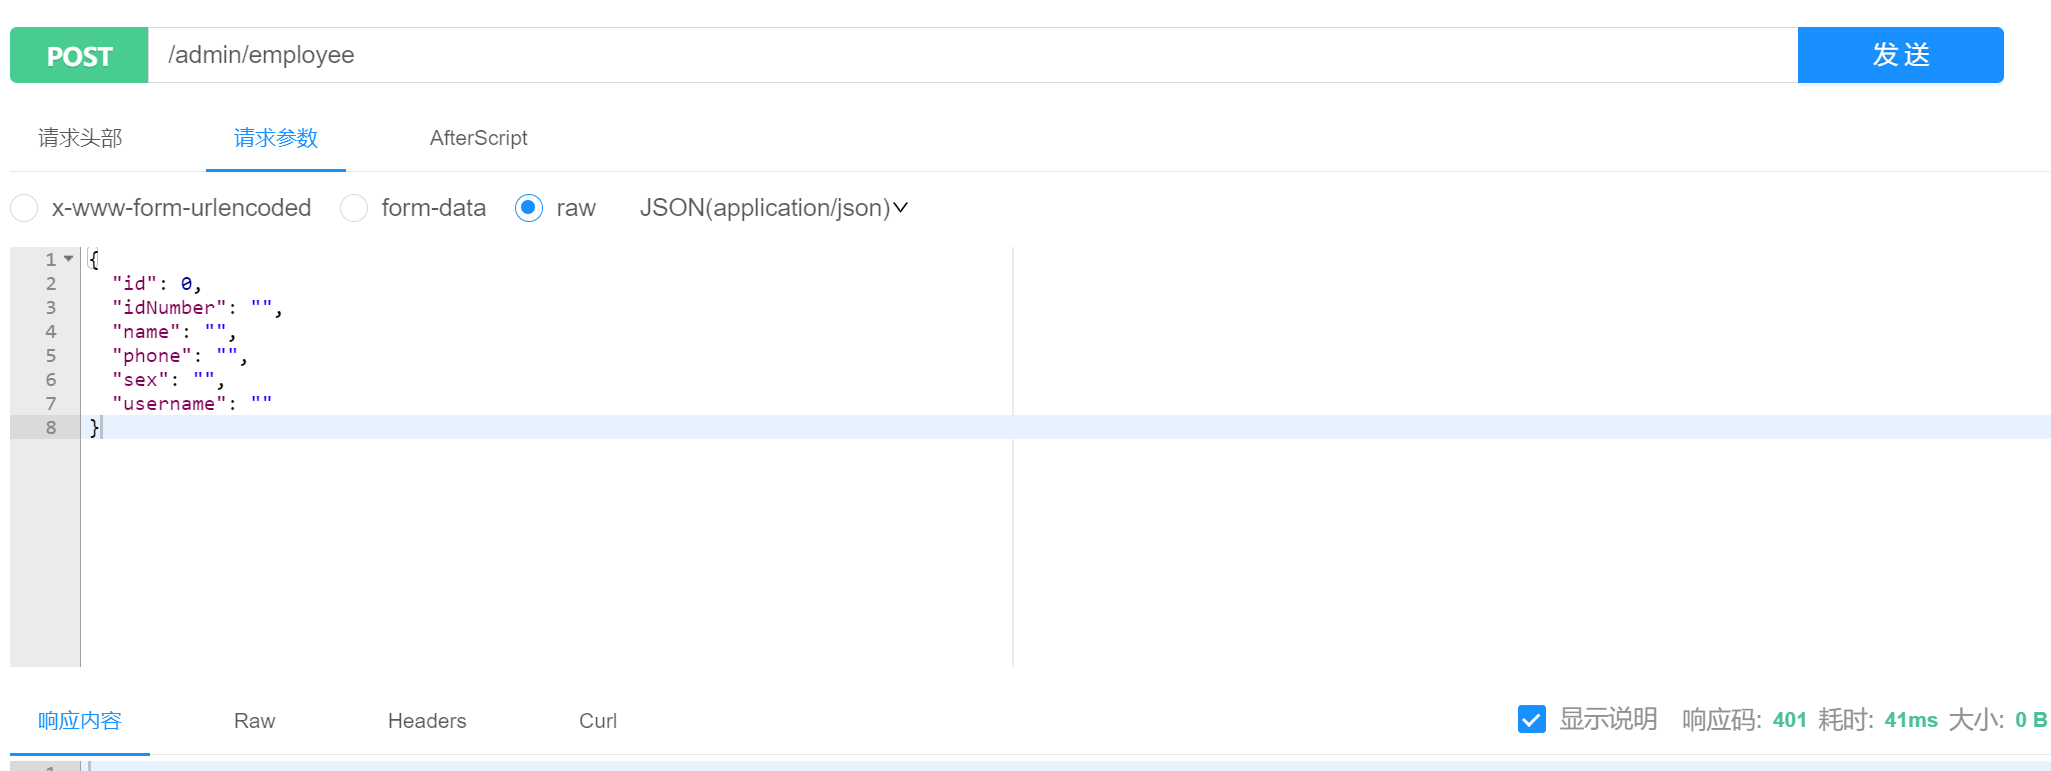
新增返回401,是因为需要jwt验证,而我们前面定义的是token,在管理员处登录一下得到token
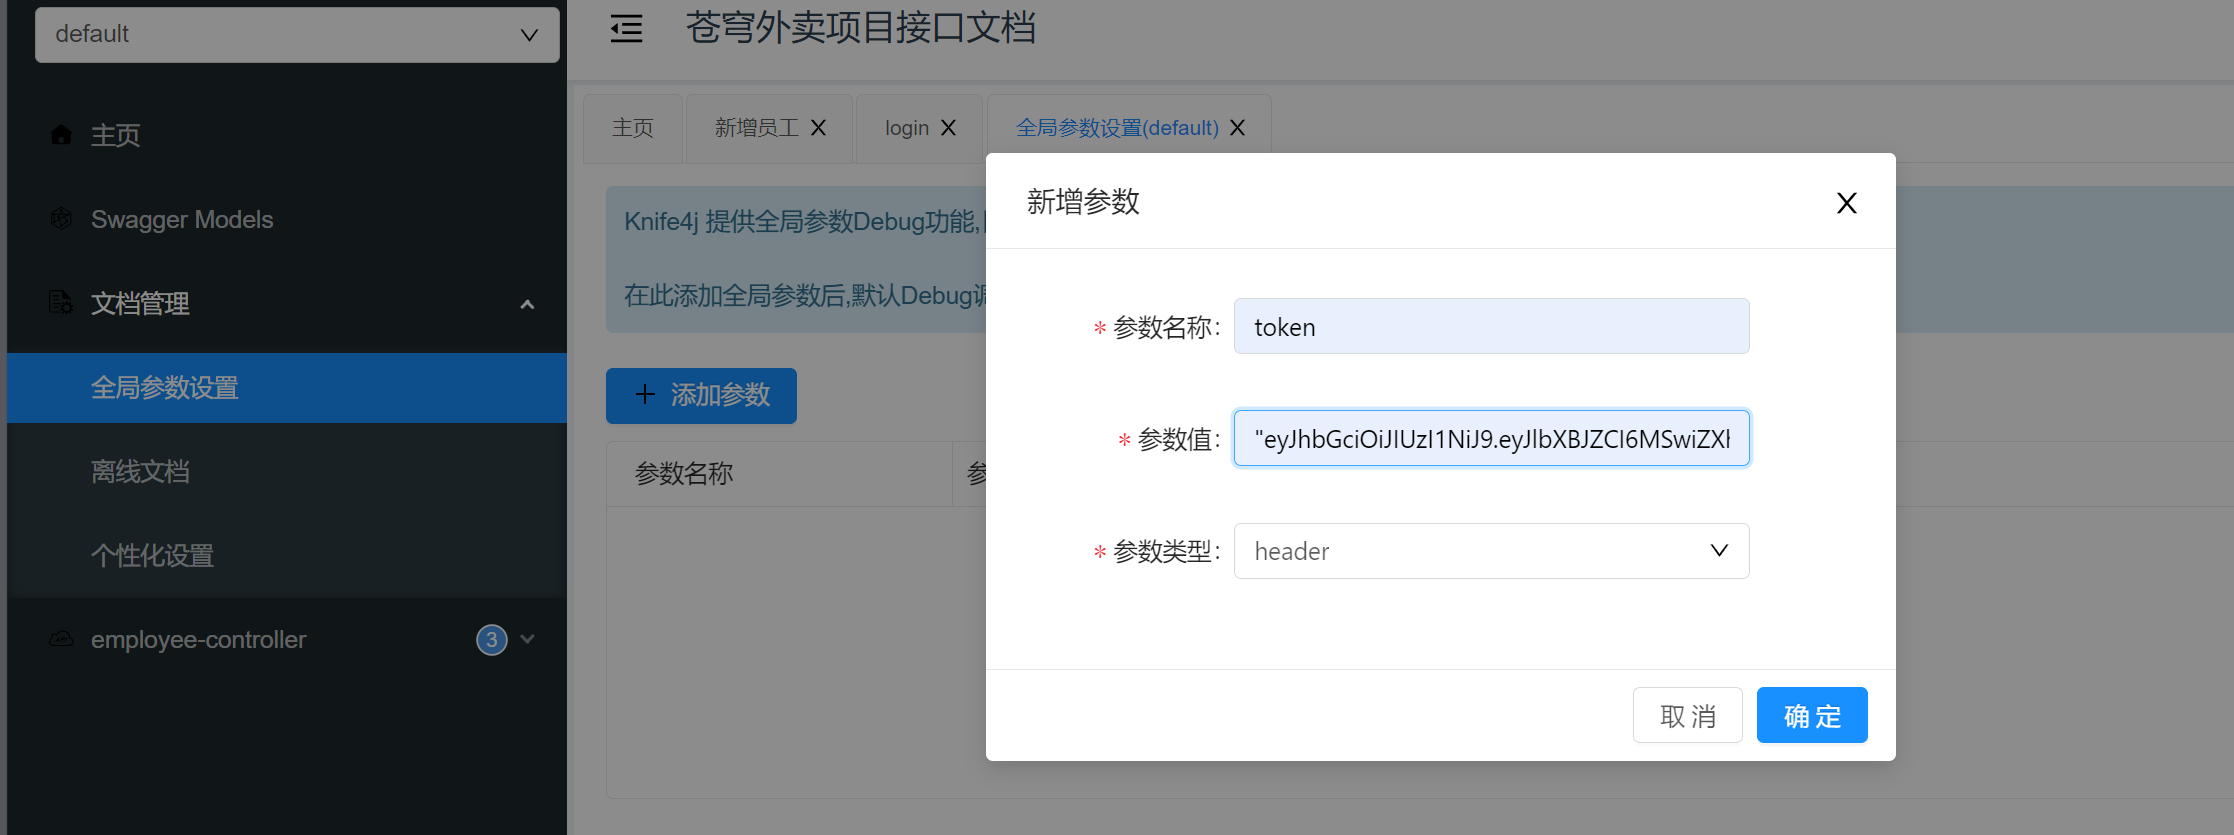
在全局参数处设置,之后就可以得到200
002 代码说明
首先是要求我们做出新增员工的后端代码
很显然是在sky-server中的
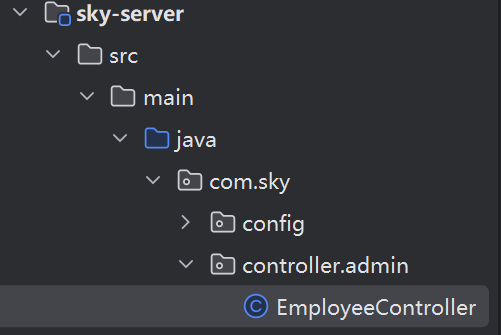
1 | @PostMapping |
1 | 还是一样, |
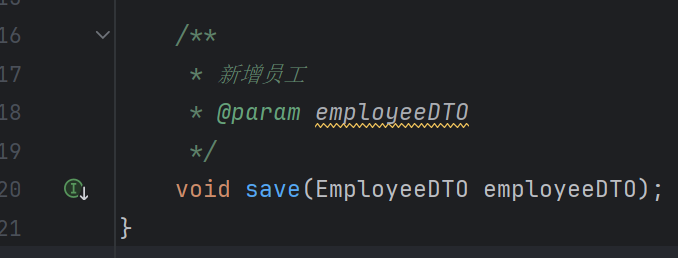
函数代码:
1 | public void save(EmployeeDTO employeeDTO) { |
1 | 1. BeanUtils.copyProperties(employeeDTO,employee);一个一个get放入很麻烦,因此我们使用这个函数 |
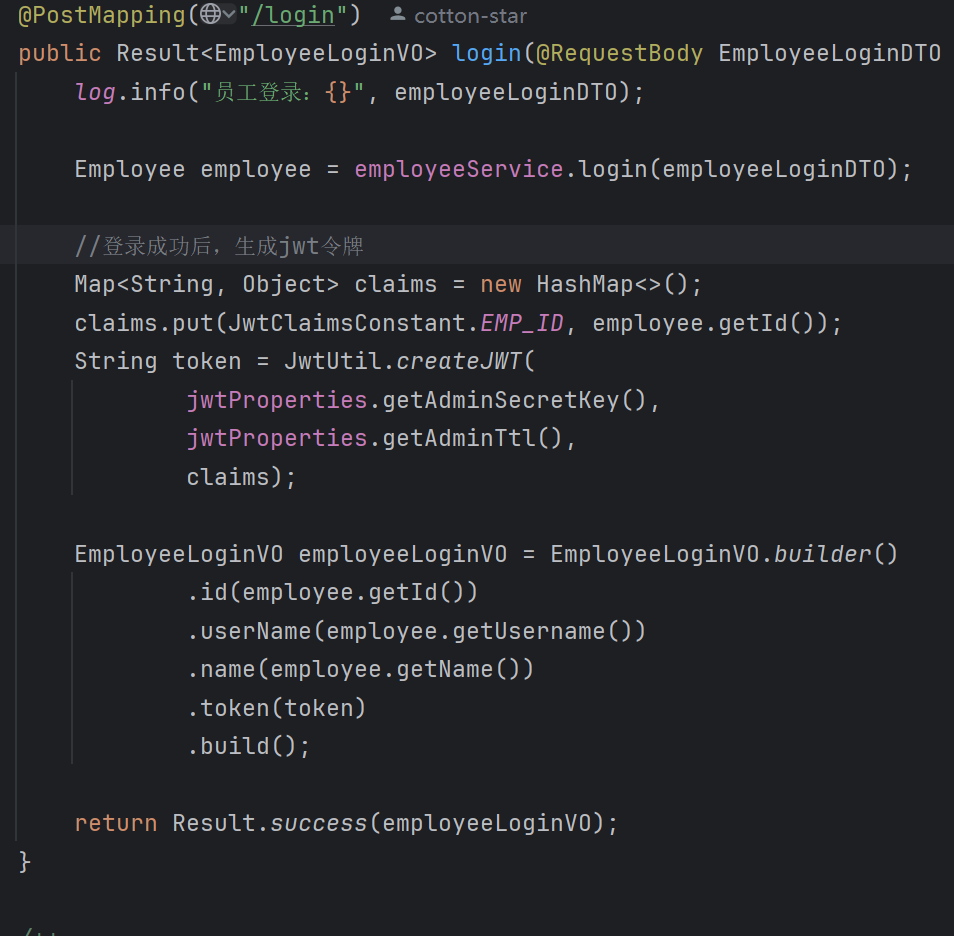
进入jwt代码中:
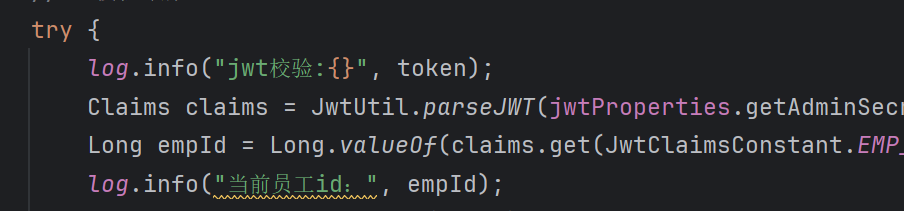
有个Long empId,我们用log.info输出一波,发现确实是id
1 | !现在的问题就是如何把这个应用到我们这个项目中,我们使用这样一个函数 |
003 功能测试
至此第二章第一节结束,测试一波
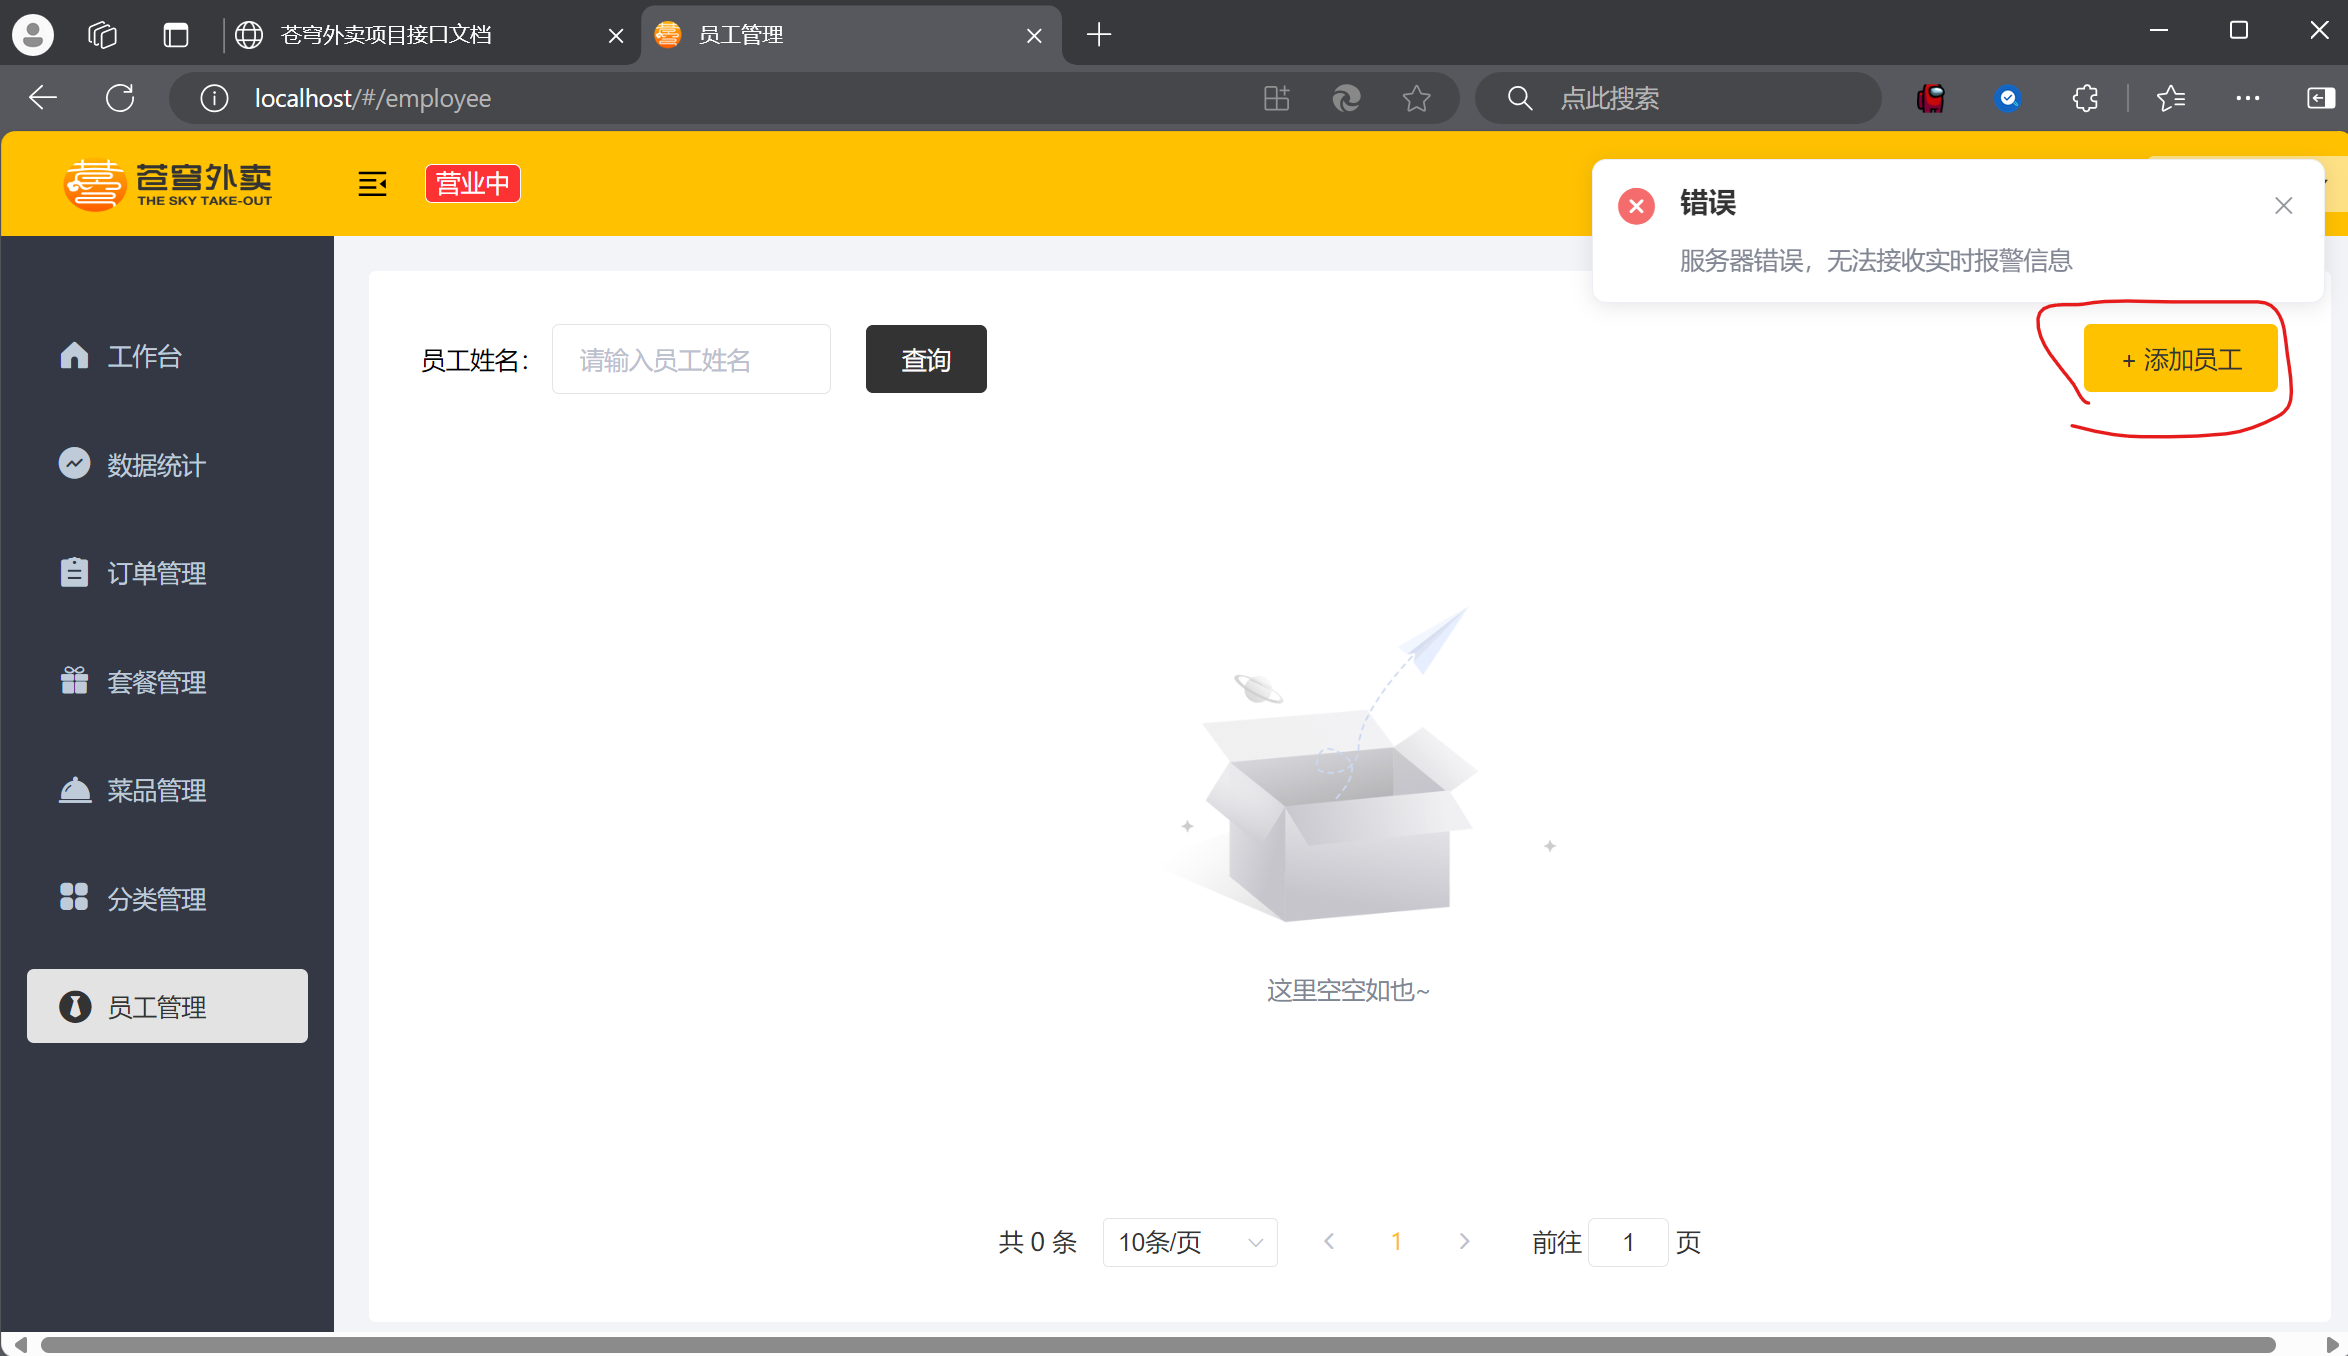
点击添加员工
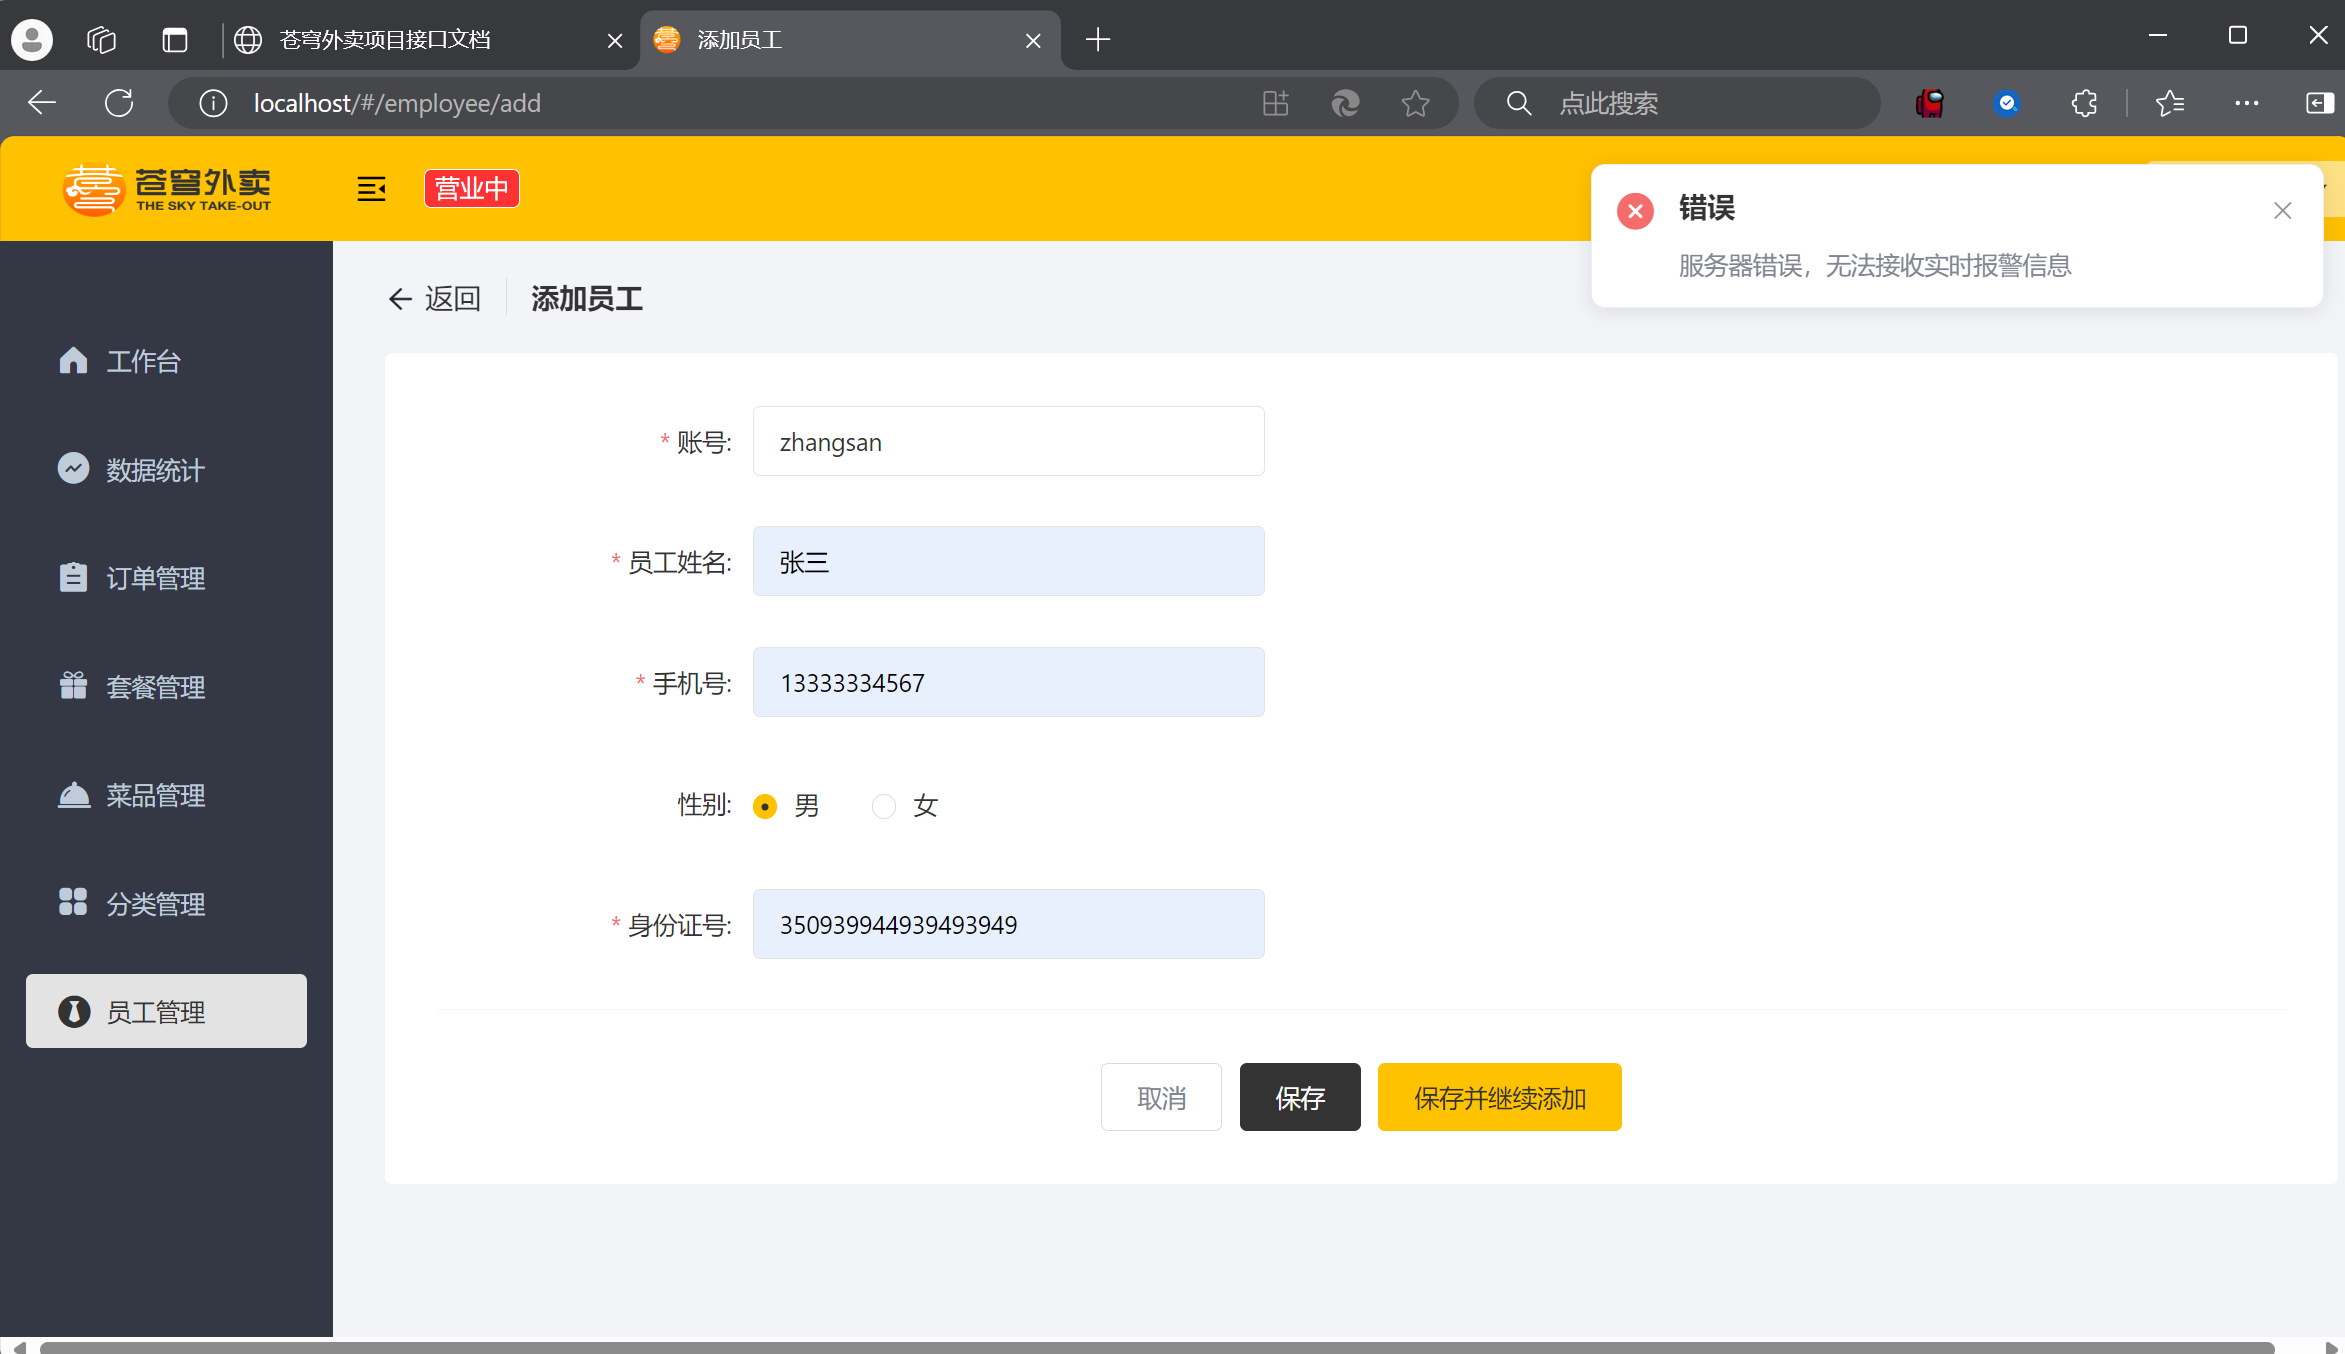
保存

查看数据库
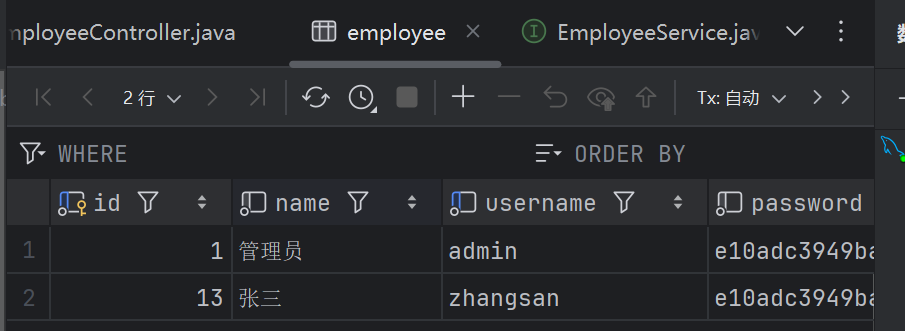
成功添加
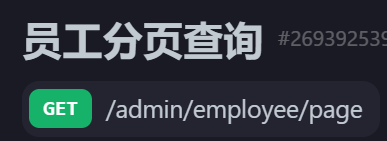
02 员工分页查询
001 功能需求
先在接口处看看他的接受以及返回
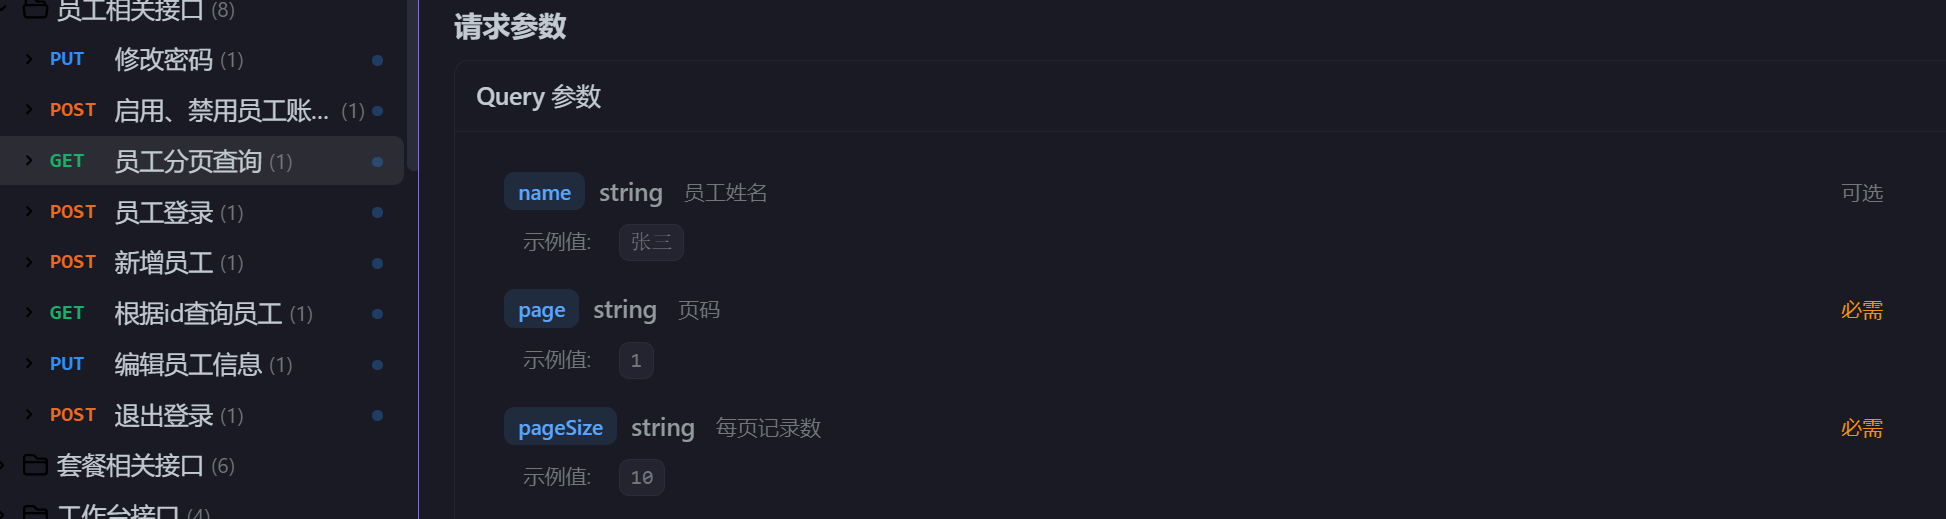
他需要
1 | 员工姓名,页码,每页记录数 |
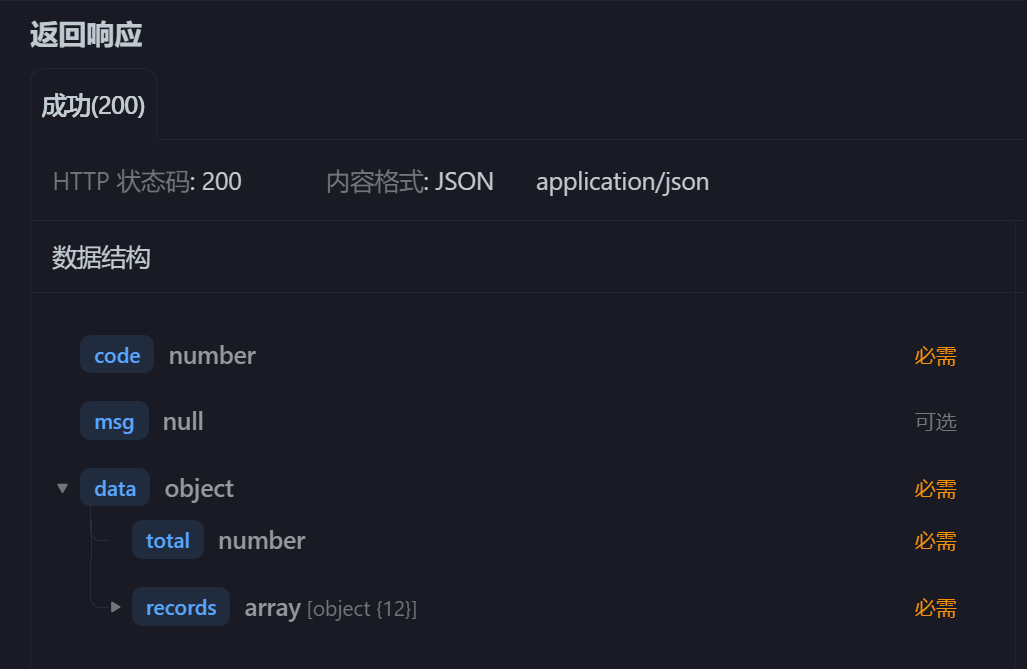
他返回
1 | 一个code和data,data里有total和record,record里是一个employee的属性 |
002 代码实现
非常的格式化,跟01新增员工一样,post是上传数据,而get是请求数据
要求都写好了,因此我们直接开写基本的代码
1 | /** |
老样子 注释 map 注释 具体函数 log正确判断 return
然后进入概述写个注释
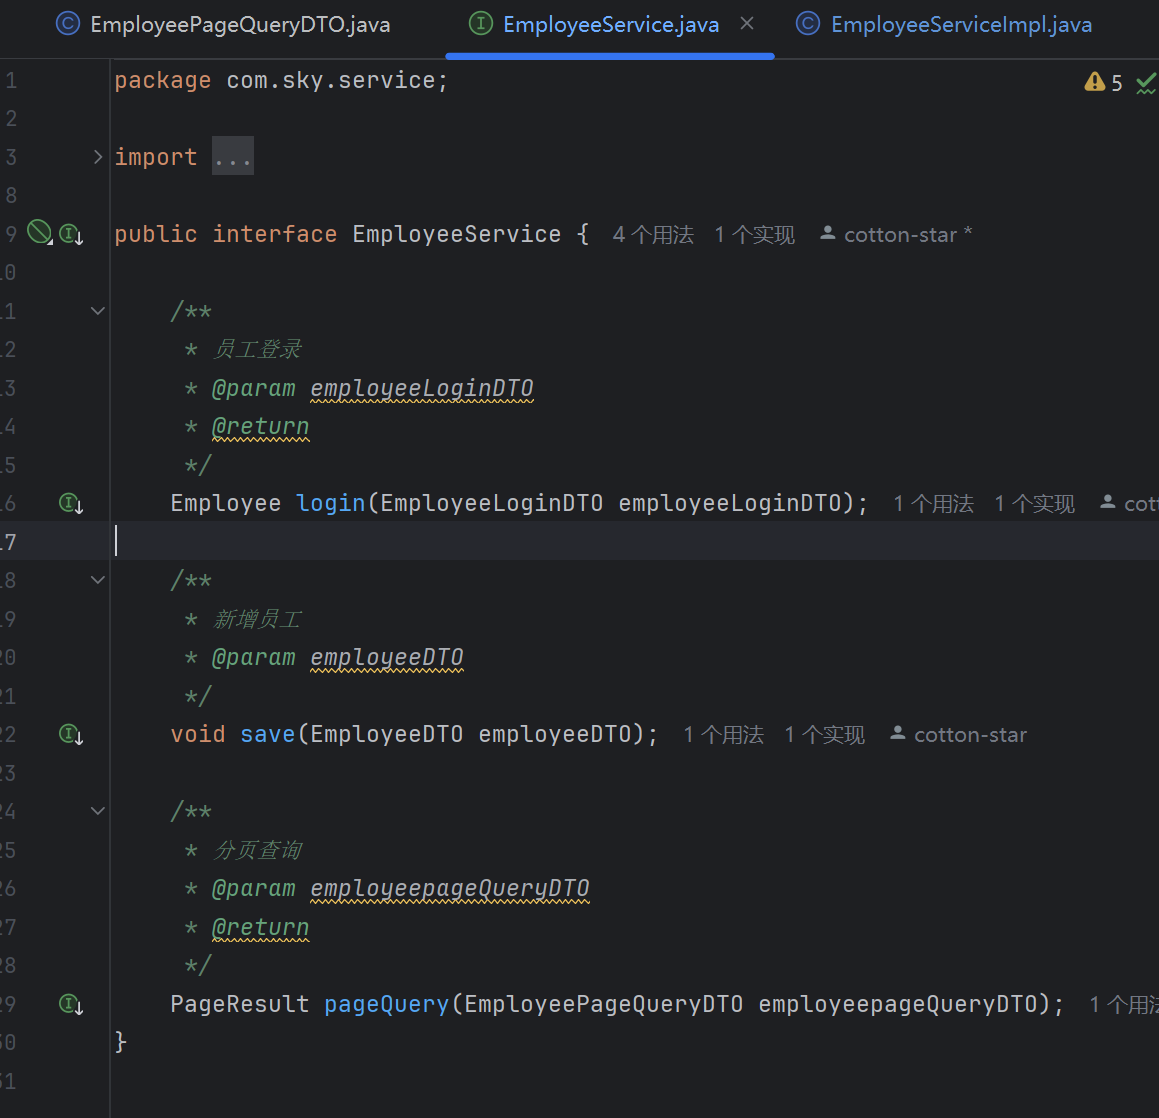
最后进入具体实现
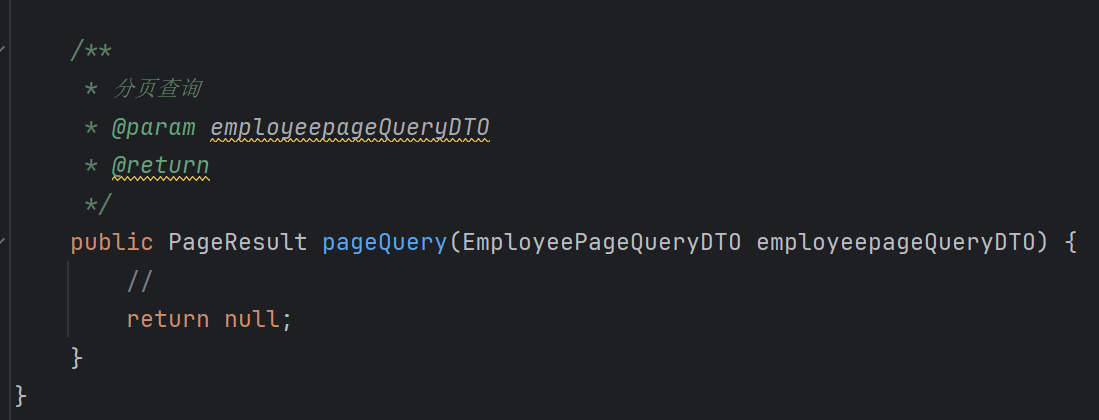
分页查询,原来需要我们会mysql的语句去自己写,现在都搞好了,直接用pagehelper就好了
PageHelper.startPage() 的作用
- 启动分页:
在执行 SQL 查询之前调用PageHelper.startPage(),它会为接下来的 第一条 SQL 查询 自动添加分页逻辑。 - 自动分页:
你不需要手动在 SQL 中写LIMIT,PageHelper 会自动根据传入的页码和每页大小,生成分页 SQL。 - 封装结果:
查询结果会被封装到Page对象中,包含分页信息(如总记录数、总页数等)。
形式如下:开始分页(页码,每页大小)
1 | PageHelper.startPage(employeepageQueryDTO.getPage(),employeepageQueryDTO.getPageSize()); |
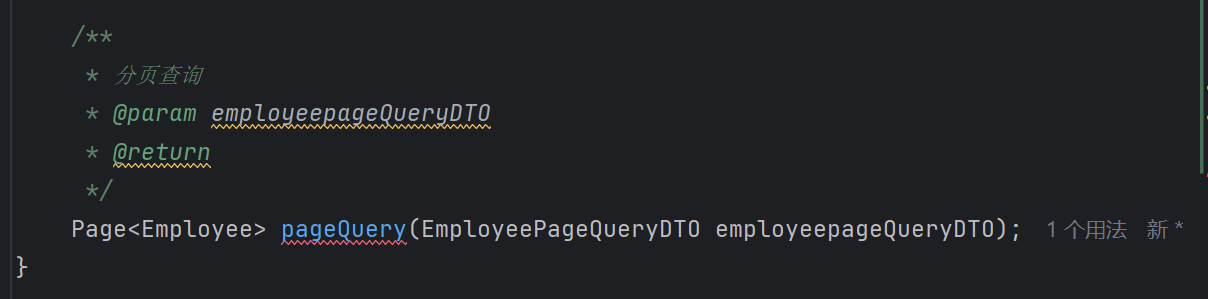
之后根据DTO的信息去查询员工信息,并封装到page中
1 | Page<Employee> page=employeeMapper.pageQuery(employeepageQueryDTO); |
做完之后去具体实现pageQuery,这里需要下载mybatis插件
alt+回车创建
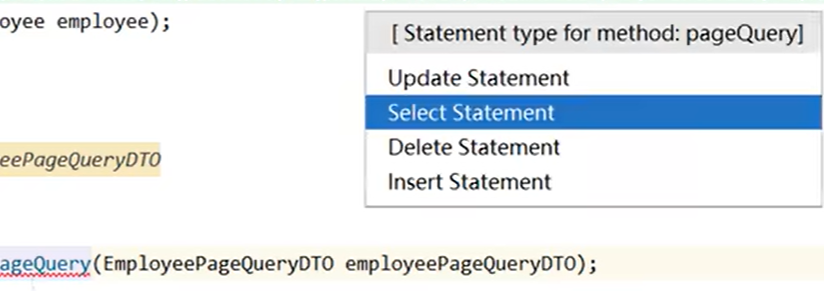
选择select
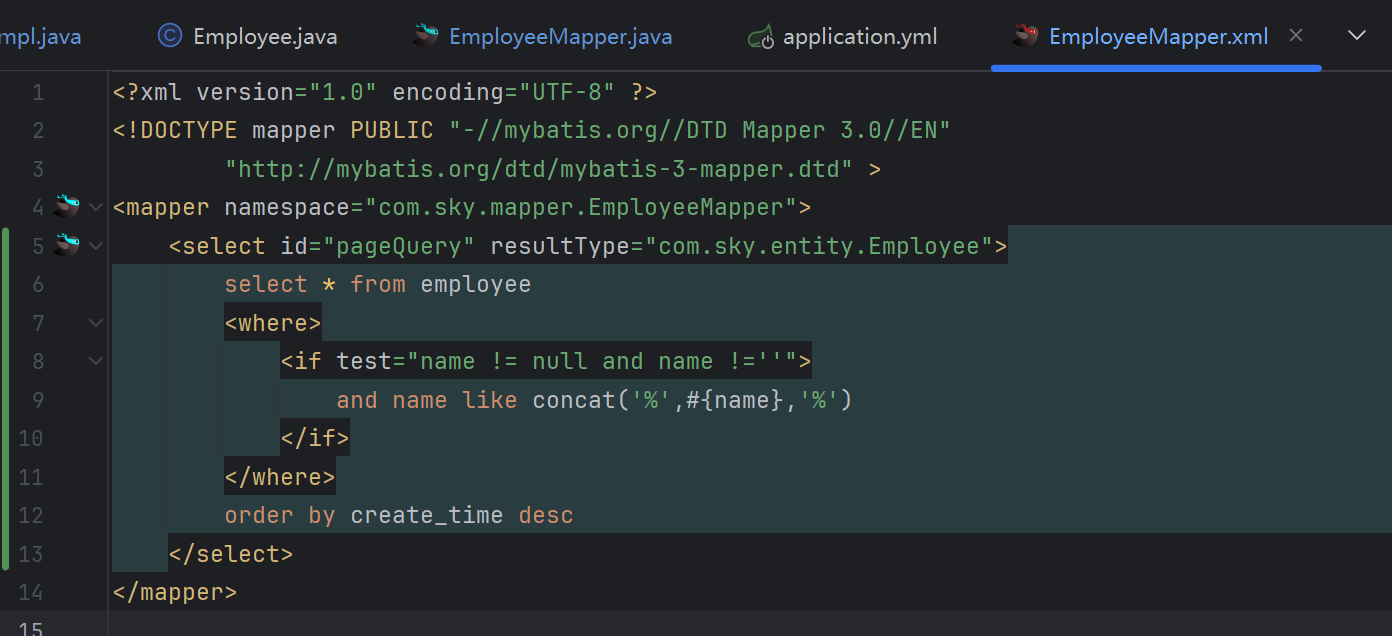
最后在这里去实现具体的sql查询语句
1 | <select id="pageQuery" resultType="com.sky.entity.Employee"> |
从employee提取全部
<where>标签是 MyBatis 动态 SQL 中的一个重要标签,用于生成WHERE子句。它的主要作用是:- 自动添加
WHERE关键字:
如果<where>标签内有条件成立,它会自动在 SQL 中添加WHERE关键字。 - **智能处理
AND或OR**:
如果条件前面有AND或OR,它会自动去掉这些多余的连接词,避免 SQL 语法错误。 - 忽略空条件:
如果所有条件都不成立,它会忽略整个WHERE子句,避免生成无效的 SQL
- 自动添加
判断姓名不为空,进行模糊查询
模糊查询 是一种在数据库中查找 部分匹配 数据的查询方式。它的特点是:不需要完全匹配查询条件,而是通过匹配部分内容来查找相关记录。
在 SQL 中,模糊查询通常使用
LIKE关键字和通配符来实现。模糊查询的核心
LIKE关键字:
用于指定模糊查询的条件。- 通配符:
用于匹配部分内容的特殊字符,常用的通配符有:%:匹配任意长度的任意字符(包括空字符)。_:匹配单个任意字符。
ORDER BY create_time DESC是 SQL 中的一个 排序子句,用于根据create_time字段对查询结果进行 降序排序。以下是详细解释:
具体代码实现
1 | /** |
003 功能测试
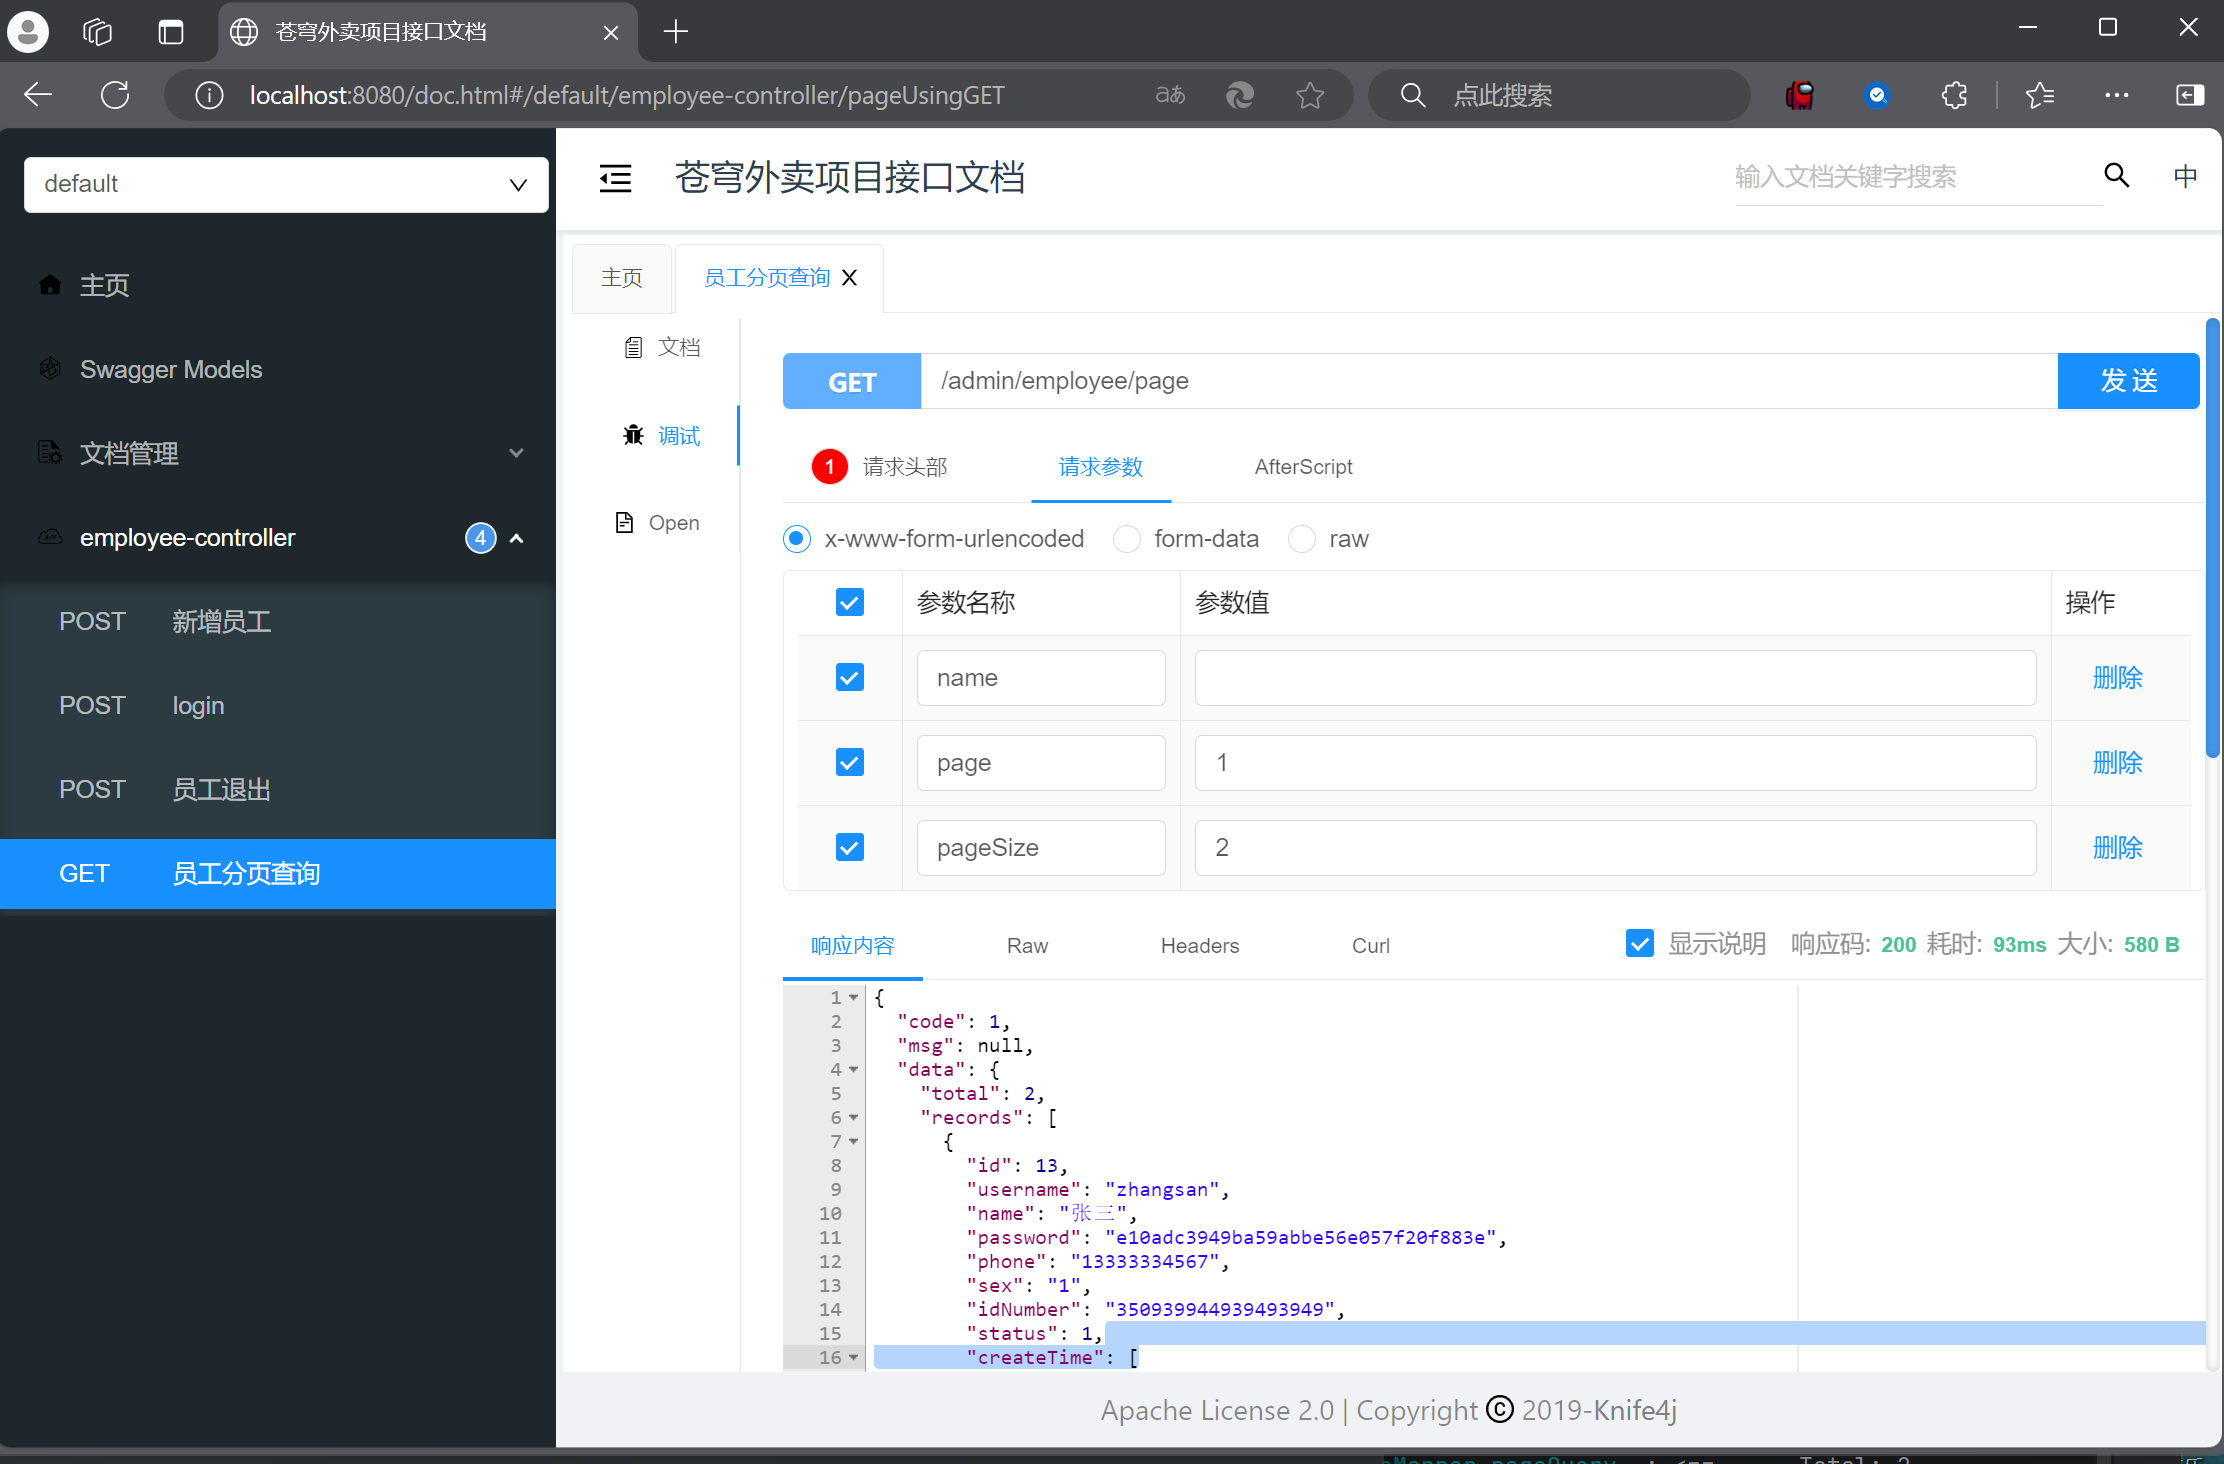
可以发现正确的跑起来了
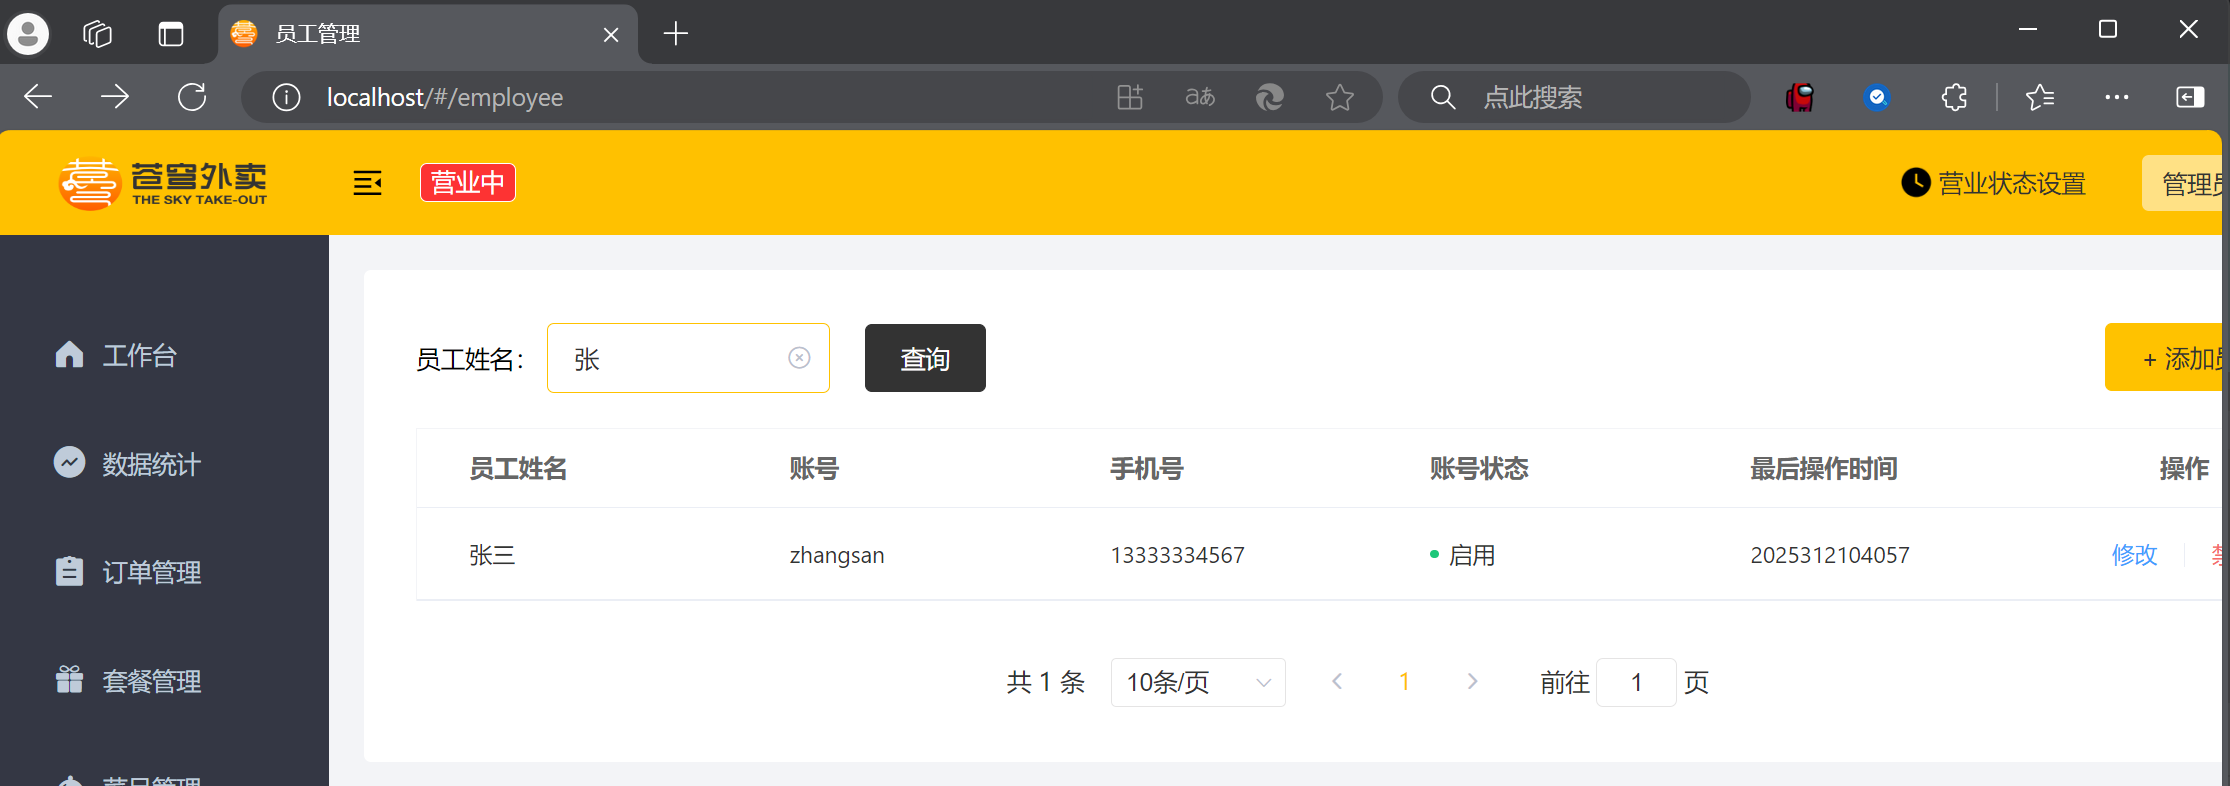
004 代码完善
但是时间的格式不是很好

- 1.加上注解:


2.统一
在他给的源码中已经存在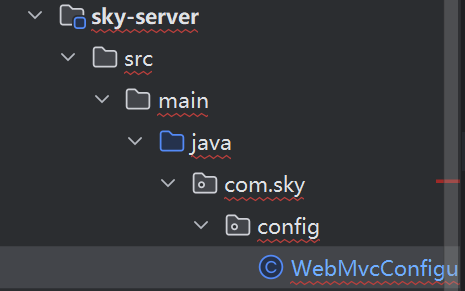 只需要在里面去进行配置
1
2
3
4
5
6
7
8
9
10
11
12
13
14/**
* 扩展spring mvc框架的消息转化器
* @param converters
*/
@Override
protected void extendMessageConverters(List<HttpMessageConverter<?>> converters) {
log.info("扩展消息转换器");
//创建一个消息转化器对象
MappingJackson2HttpMessageConverter converter = new MappingJackson2HttpMessageConverter();
//需要为消息转换器设置一个对象转换器,对象转换器可以将Java对象序列化为json数据
converter.setObjectMapper(new JacksonObjectMapper());
//将自己的消息转换器加入到容器中,0的意思是排在第一位
converters.add(0,converter);
}对象转换器在common里也有
 就可以了
就可以了
03 禁用员工账号
001 功能需求
简单来说就是通过id设置员工的status,1为启用,0为禁用
002 代码实现
1 | /** |
要传来的内容不多可以不使用DTO,括号里写@PathVariable说明是从URL传来的,上面的@RequestBody是从http请求的json格式传来,因为不是一个查询的操作,因此Result不需要<>里的东西
之后进入StartOrStop实现代码,具体操作就是通过id改status,说是为了方便,因此将传入的参数设为employee,这样之后的查询就可以直接用这个update,不然只为了这一个属性写一个很麻烦
1 | public void StartOrStop(Integer status,Long id){ |
去mapper中具体实现update
1 | <update id="update" parameterType="Employee"> |
003 功能测试
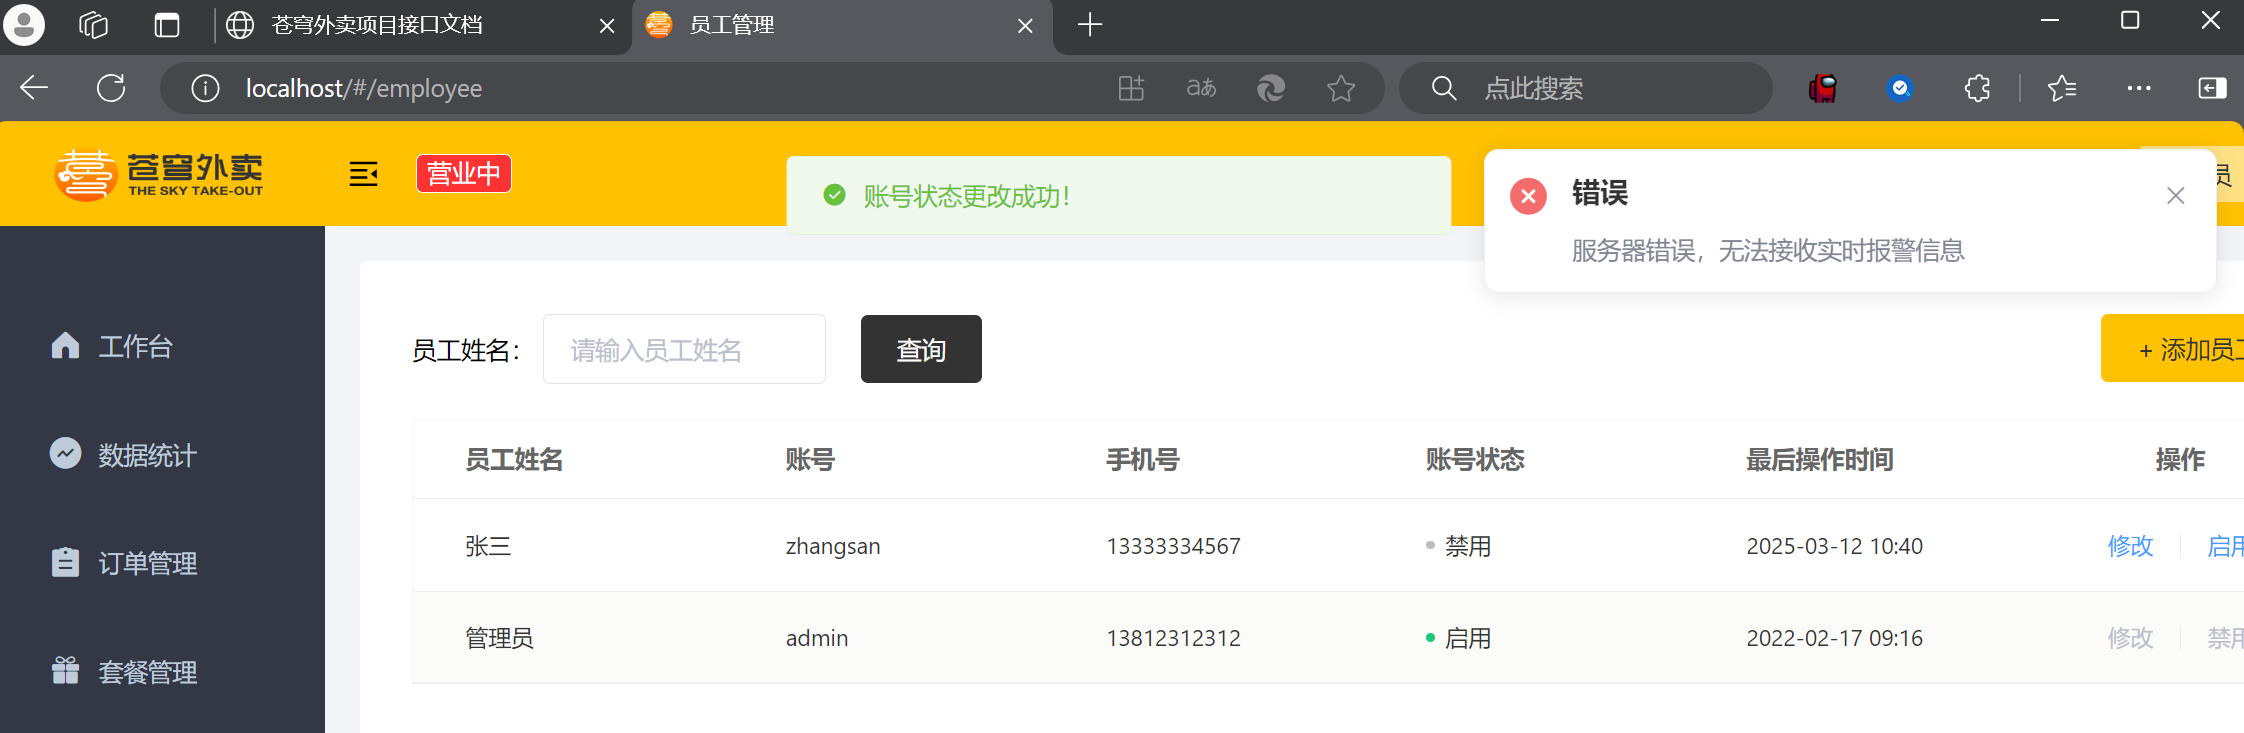
功能正常使用
快速滑动代码
1 | shift+alt+方向键 |
04 编辑员工信息
001 通过id查询用户信息
写到现在已经很清晰了,
- 根据接口在控制层( EmployeeController)写 获取数据,接口提示 正确的返回格式
- 在服务层( [EmployeeController] ) 写函数的定义,以及在 ([EmployeeController.java]) 写具体的函数实现
- 最后在持久层 ([EmployeeController.java]) 写有关数据库的操作
这次有两个接口需求,一个是通过id查询用户信息,另一个是编辑员工信息
控制层
1
2
3
4
5
6
7
8
9
10
11/**
* 根据id查询员工信息
* @param id
* @return
*/
@GetMapping("/{id}")
@ApiOperation("根据id查询员工信息")
public Result<Employee> getById(@PathVariable Long id){
Employee employee=employeeService.getById(id);
return Result.success(employee);
}服务层
1
2
3
4
5
6
7/**
* 根据id查询员工信息
* @param id
* @return
*/
Employee getById(Long id);
}1
2
3
4
5
6
7
8
9
10
11/**
* 根据id查询员工信息
* @param id
* @return
*/
public Employee getById(Long id){
Employee employee=employeeMapper.getById(id);
employee.setPassword("****");
return employee;
}
}持久层
1
2
3
4
5
6
7/**
* 根据id查询员工信息
* @param id
* @return
*/
@Select("select * from sky_take_out.employee where id = #{id}")
Employee getById(Long id);
002 编辑用户信息

json格式,@RequestBody
控制层
1
2
3
4
5
6
7
8
9
10
11
12/**
* 编辑员工信息
* @param employeeDTO
* @return
*/
@PutMapping
@ApiOperation("编辑员工信息")
public Result update(@RequestBody EmployeeDTO employeeDTO){
log.info("编辑员工信息:{}",employeeDTO);
employeeService.update(employeeDTO);
return Result.success();
}服务层
1
2
3
4
5
6/**
* 编辑员工信息
* @param employeeDTO
*/
void update(EmployeeDTO employeeDTO);
}1
2
3
4
5
6
7
8
9
10
11
12
13/**
* 编辑员工信息
* @param employeeDTO
*/
public void update(EmployeeDTO employeeDTO) {
Employee employee=new Employee();
BeanUtils.copyProperties(employeeDTO,employee);
employee.setUpdateTime(LocalDateTime.now());
employee.setUpdateUser(BaseContext.getCurrentId());
employeeMapper.update(employee);
}持久层
1
就是前面写的update复用
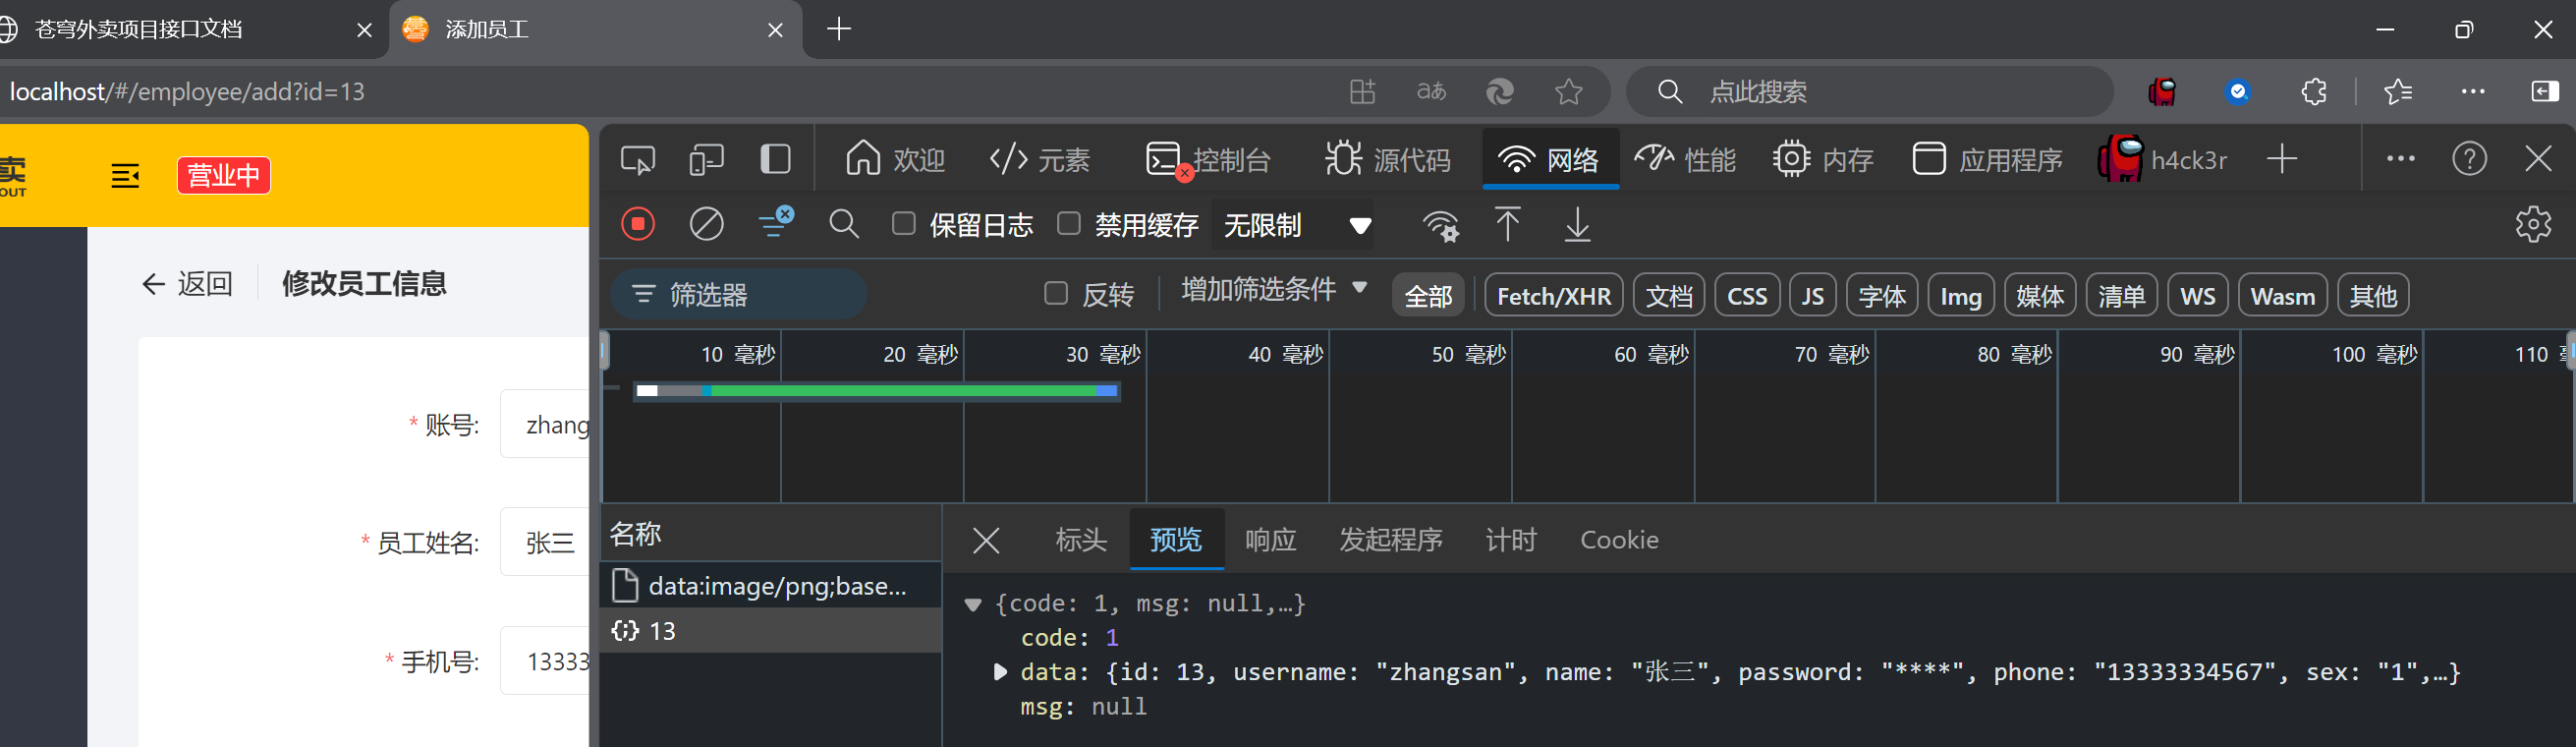
003 功能测试
点击修改


可以看到调用sql语句并且回显出信息
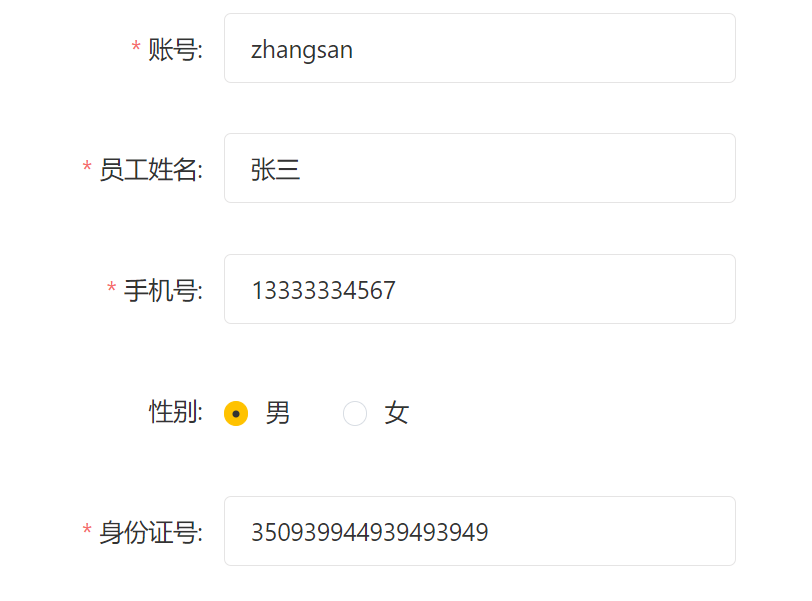
前面设置密码为”*”是为了防止偷看,
点击保存

信息修改成功
第三章 分类管理
这章用来学习上面自写练习
先创建Service,Servicelmpl,Controller
1
2
3
4
5
6
7
8
9
10//这是Controller的头部
@RestController
@RequestMapping("/admin/category")
@Api(tags="分类相关接口")
@Slf4j
public class CategoryController {
@Autowired
private CategoryService categoryService;
}接口可以直接写,不用什么特殊的,Servicelmpl就需要在开头写一个@Service
001 新增分类
控制层
1
2
3
4
5
6
7
8
9
10
11
12/**
* 新增分类
* @param categoryDTO
* @return
*/
@PostMapping
@ApiOperation("新增分类")
public Result save(@RequestBody CategoryDTO categoryDTO){
log.info("新增分类:{}",categoryDTO);
categoryService.save(categoryDTO);
return Result.success();
}服务层
1
2
3
4
5/**
* 新增分类
* @param categoryDTO
*/
void save(CategoryDTO categoryDTO);1
2
3
4
5
6
7
8
9
10
11
12
13
14
15
16
17
18
19
20
21
22
23
24
25/**
* 新增分类
* @param categoryDTO
*/
public void save(CategoryDTO categoryDTO) {
Category category=new Category();
//对象属性拷贝
BeanUtils.copyProperties(categoryDTO,category);
//设置分类状态
category.setStatus(StatusConstant.DISABLE);
//设置当前记录的创建时间和修改时间
category.setCreateTime(LocalDateTime.now());
category.setUpdateTime(LocalDateTime.now());
//设置当前记录创建人id和修改人id
category.setCreateUser(BaseContext.getCurrentId());
category.setUpdateUser(BaseContext.getCurrentId());
categoryMapper.insert(category);
}
}持久层
1
2
3
4
5
6
7/**
* 插入分类数据
* @param category
*/
@Insert("INSERT INTO sky_take_out.category (type, name, sort, status, create_time, update_time, create_user, update_user) " +
"VALUES (#{type}, #{name}, #{sort}, #{status}, #{createTime}, #{updateTime}, #{createUser}, #{updateUser})")
void insert(Category category);
接口调试返回200即可,返回500极大概率就是持久层错了
002 分类分页查询
控制层
1
2
3
4
5
6
7
8
9
10
11
12/**
* 分类分页查询
* @param categoryPageQueryDTO
* @return
*/
@GetMapping("/page")
@ApiOperation("分类分页查询")
public Result<PageResult> page(CategoryPageQueryDTO categoryPageQueryDTO){
log.info("分类分页查询,参数为:{}",categoryPageQueryDTO);
PageResult pageResult=categoryService.pageQuery(categoryPageQueryDTO);
return Result.success(pageResult);
}服务层
1
2
3
4
5
6/**
* 分页查询
* @param categoryPageQueryDTO
* @return
*/
PageResult pageQuery(CategoryPageQueryDTO categoryPageQueryDTO);1
2
3
4
5
6
7
8
9
10
11
12
13
14/**
* 分页查询
* @param categoryPageQueryDTO
* @return
*/
public PageResult pageQuery(CategoryPageQueryDTO categoryPageQueryDTO) {
PageHelper.startPage(categoryPageQueryDTO.getPage(),categoryPageQueryDTO.getPageSize());
Page<Category> page = categoryMapper.pageQuery(categoryPageQueryDTO);
long total = page.getTotal();
List<Category> records = page.getResult();
return new PageResult(total,records);
}持久层
持久层这里需要特别注意,由于我们后面还有按照类型搜索,不能直接按照员工的按名字查询,需要加上这一串代码
1
2
3<if test="type != null">
and type = #{type}
</if>1
2
3
4
5
6
7
8
9
10
11
12<select id="pageQuery" resultType="com.sky.entity.Category">
select * from category
<where>
<if test="name != null and name !=''">
and name like concat('%',#{name},'%')
</if>
<if test="type != null">
and type = #{type}
</if>
</where>
order by create_time desc
</select>
003 修改分类
从上面编辑员工可得
控制层
1
2
3
4
5
6
7
8
9
10
11
12/**
* 修改分类
* @param categoryDTO
* @return
*/
@PutMapping
@ApiOperation("修改分类")
public Result update(@RequestBody CategoryDTO categoryDTO){
log.info("修改分类:{}",categoryDTO);
categoryService.update(categoryDTO);
return Result.success();
}服务层
1
2
3
4
5
6/**
* 修改分类
* @param categoryDTO
*/
void update(CategoryDTO categoryDTO);
}1
2
3
4
5
6
7
8
9
10
11
12
13/**
* 修改分类
* @param categoryDTO
*/
public void update(CategoryDTO categoryDTO) {
Category category=new Category();
BeanUtils.copyProperties(categoryDTO,category);
category.setUpdateTime(LocalDateTime.now());
category.setUpdateUser(BaseContext.getCurrentId());
categoryMapper.update(category);
}持久层
1
2
3
4
5
6
7
8
9
10
11
12
13<update id="update" parameterType="Category">
update category
<set>
<if test ="name != null">name = #{name},</if>
<if test ="id != null">id = #{id},</if>
<if test ="sort != null">sort = #{sort},</if>
<if test ="type != null">type = #{type},</if>
<if test ="updateTime != null">update_time = #{updateTime},</if>
<if test ="updateUser != null">update_user = #{updateUser},</if>
<if test ="status != null">status = #{status},</if>
</set>
where id = #{id}
</update>
004 启用禁用分类
控制层
1
2
3
4
5
6
7
8
9
10
11
12
13/**
* 启用禁用分类
* @param status
* @param id
* @return
*/
@PostMapping("/status/{status}")
@ApiOperation("启用禁用分类")
public Result StartOrStop(@PathVariable Integer status ,Long id){
log.info("启用禁用分类:{},{}",status,id);
categoryService.StartOrStop(status,id);
return Result.success();
}服务层
1
2
3
4
5
6
7
8
9
10
11
12/**
* 启用禁用分类
* @param status
* @param id
*/
public void StartOrStop(Integer status, Long id) {
Category category=new Category();
category.setId(id);
category.setStatus(status);
categoryMapper.update(category);
}持久层
就是上面写的update
005 删除分类
删除分类我们要考虑分类下是否存在套餐或者菜品,如果存在则不能删除
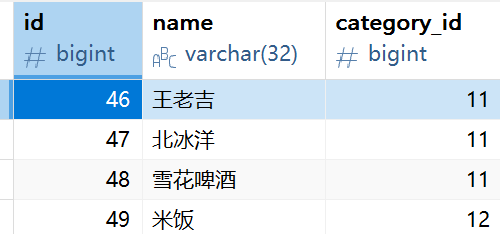

可以看到dish和setmeal都存在category_id,也就是在这俩个表里查询即可,查到count++
count>0报错,不能删除
控制层
1
2
3
4
5
6
7
8
9
10
11
12/**
* 删除分类
* @param id
* @return
*/
@DeleteMapping
@ApiOperation("删除分类")
public Result deleteById(Long id){
log.info("删除分类");
categoryService.deleteById(id);
return Result.success();
}服务层
1
2
3
4
5
6
7
8
9
10
11
12
13
14
15
16
17
18/**
* 删除分类
* @param id
*/
public void deleteById(Long id) {
//需要判断是否有关联菜品或者套餐,有则不能删除
Integer count = dishMapper.countByCategoryId(id);
if(count>0){
throw new DeletionNotAllowedException(MessageConstant.CATEGORY_BE_RELATED_BY_DISH);
}
count=setmealMapper.countByCategotyId(id);
if(count>0){
throw new DeletionNotAllowedException(MessageConstant.CATEGORY_BE_RELATED_BY_SETMEAL);
}
categoryMapper.deleteById(id);
}持久层
dish
1
2
3
4
5
6
7
8
9
10
11@Mapper
public interface DishMapper {
/**
* 根据ID查询菜品数量
* @param categoryId
* @return
*/
@Select("select count(id) from dish where category_id = #{categoryId}")
Integer countByCategoryId(Long categoryId);
}setmeal
1
2
3
4
5
6
7
8
9
10
11@Mapper
public interface SetmealMapper {
/**
* 通过id查询套餐数量
* @param categoryId
* @return
*/
@Select("select count(id) from dish where category_id = #{categoryId}")
Integer countByCategotyId(Long categoryId);
}删除
1
2
3
4
5
6/**
* 删除分类
* @param id
*/
@Delete("delete from category where id = #{id}")
void deleteById(Long id);
006 根据类型查询分类
在sql表中有一个type,实际上就是写一个sql语句查询status=1 并且type=#{type}就行了
控制层
1
2
3
4
5
6
7
8
9
10
11/**
* 根据类型查询分类
* @param type
* @return
*/
@GetMapping("/list")
@ApiOperation("根据类型查询分类")
public Result<List<Category>> list(Integer type){
List<Category> list= categoryService.list(type);
return Result.success(list);
}这个list还不是很懂
服务层
1
2
3
4
5
6
7
8/**
* 根据类型查询分类
* @param type
* @return
*/
public List<Category> list(Integer type) {
return categoryMapper.list(type);
}持久层
1
2
3
4
5
6
7
8<select id="list" resultType="Category">
select * from category
where status = 1
<if test="type != null">
and type = #{type}
</if>
order by sort ,create_time desc
</select>
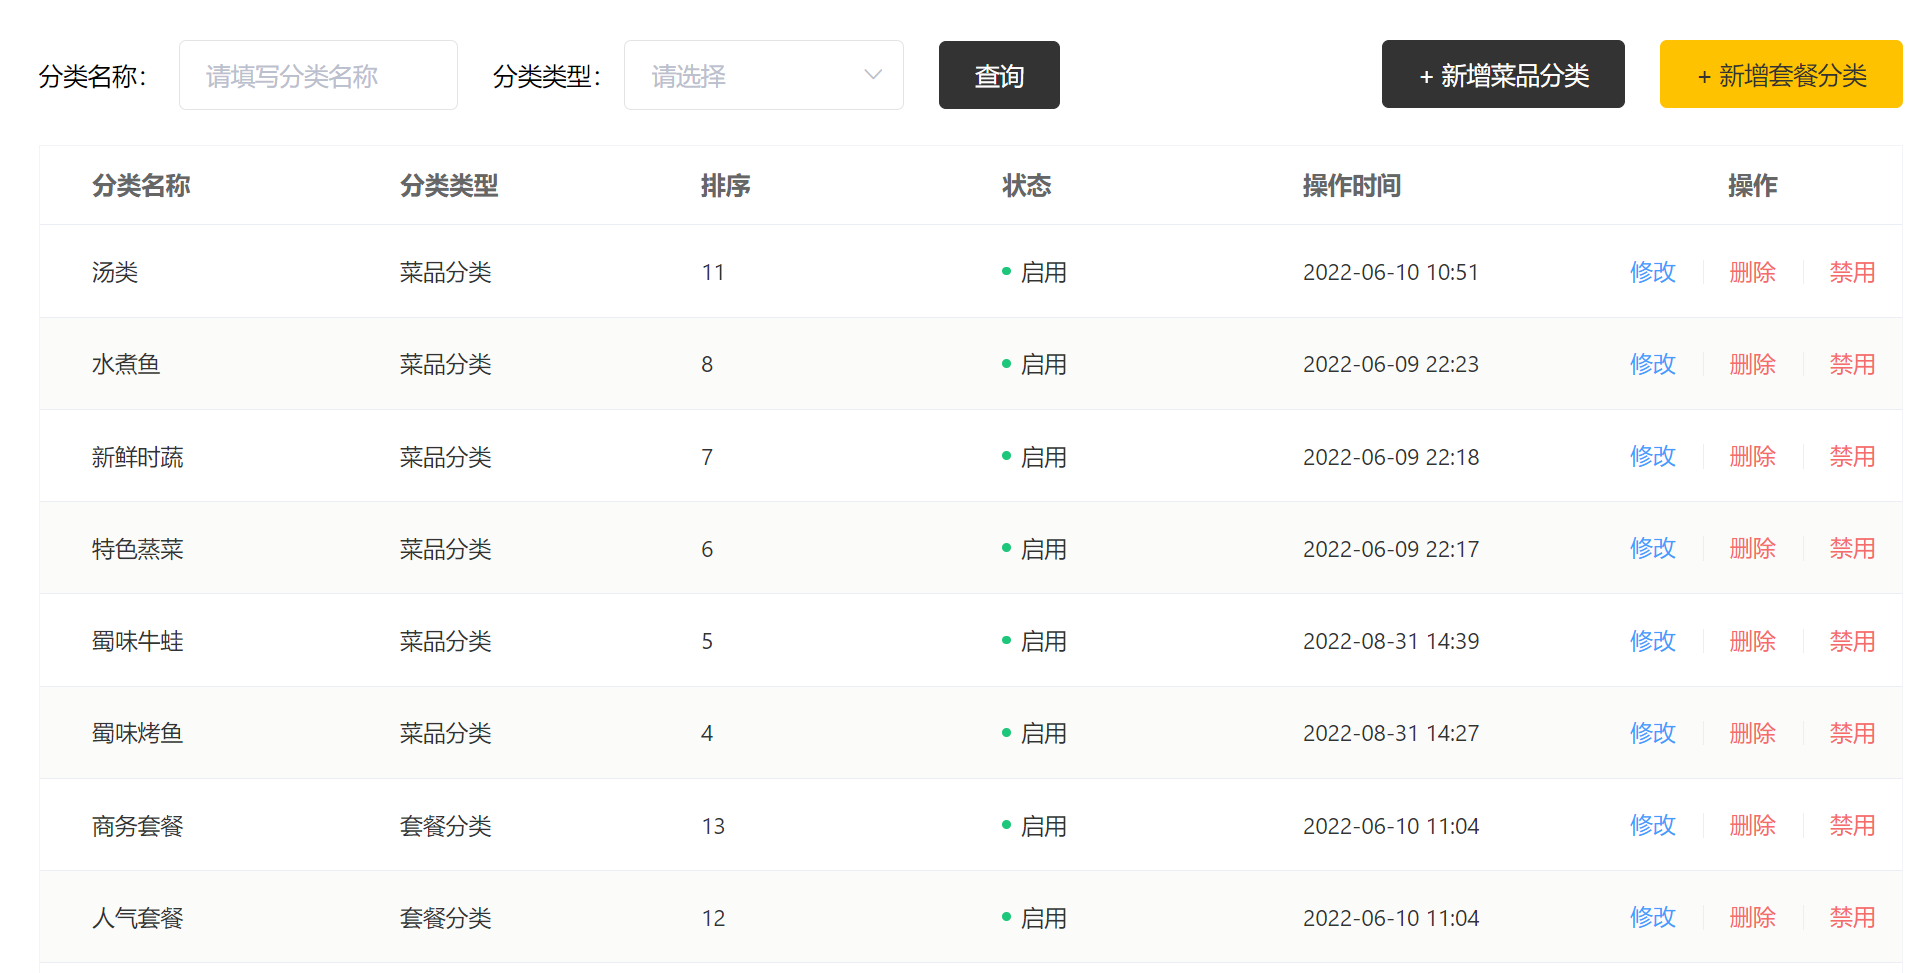
007 功能体验
分类这章到此结束
第四章 公共字段自动填充
01 思路
在前面的代码中,员工管理和分类管理同时拥有create_time/user update_time/user
这样每次都要去set会很麻烦代码也会变得冗余
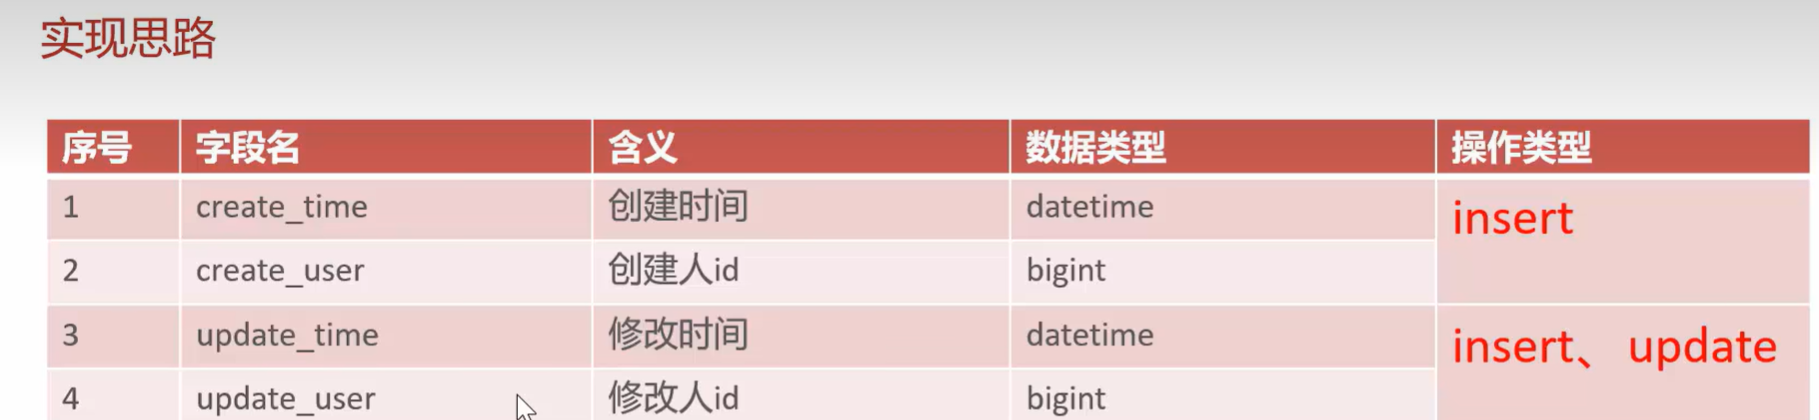
只要在持久层返回做一个切面,统一处理这几个值,现在问题就是如何去判断要不要加上这几个值,

001 @Retention
- 翻译是保留的意思,这个注解的意思其实就是在什么阶段去保留
- @Retention(RetentionPolicy.RUNTIME) 的作用是确保注解在运行时可用,基本上使用这个
- @Retention(RetentionPolicy.SOURCE) 的作用是在源码时保留
- @Retention(RetentionPolicy.CLASS) 的作用是在CLASS时可用
002 @Target
- 这个的意思是指作用域在哪里
- @Target(ElementType.METHOD) 作用在方法上
- @Target(ElementType.TYPE) 作用在类型上
- @Target(ElementType.LOCA_VARIABLE) 作用在变量上
- 就可以让这个注解去注解别人
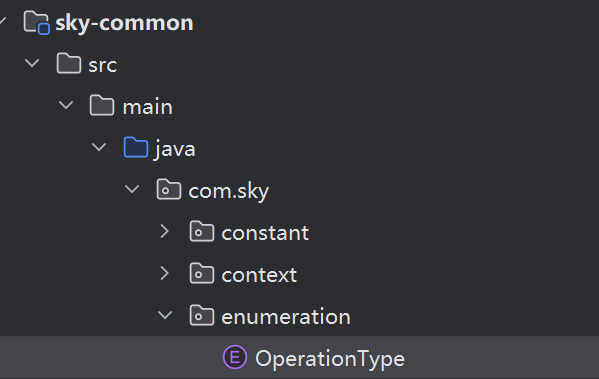
02 注解以及切面
数据库操作类型写在这里
这两注解学一下注解和反射就懂了
1
2
3
4@Target(ElementType.METHOD)
@Retention(RetentionPolicy.RUNTIME)
public @interface AutoFill {
}再创建注解类和切面类
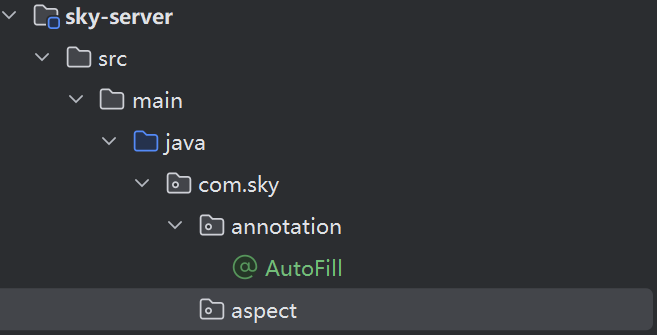
在切面创建AutoFillAspect
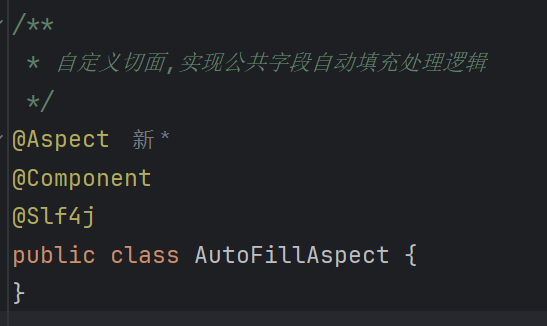
1.
@Aspect(Spring AOP 切面注解)作用:
- 声明当前类是一个 AOP 切面类,用于定义 横切关注点(如日志、事务、权限校验等)。
- 通常配合
@Before、@After、@Around等通知注解使用,拦截目标方法。
2.
@Component(Spring 组件注解)作用:
- 将当前类标记为 Spring 管理的 Bean,由 Spring 容器负责创建和依赖注入。
- 是
@Controller、@Service、@Repository的通用父注解。
为什么切面类需要
@Component?@Aspect仅定义切面逻辑,但切面类本身需要被 Spring 容器实例化才能生效。- 所以
@Aspect和@Component通常一起使用。